Cherry Meringue Tart
While this blog is filled with recipes that are mostly Asian (or at least Asian in spirit), sometimes, I’d put aside the matcha, rice flour, lao gan ma, and any other remotely Asian ingredient, and just go for something classic.
Whether it’s with the express purpose of using up leftovers, whether it’s a sudden stroke of inspiration, or whether it’s an episode of Instagram idolatry, any of these reasons could be the driving force to me making something out of my usual Asian flavour portfolio, and going with some classic technique and flavours.
And last weekend, all three reasons came into play, that led to this jammy cherry meringue tart:
I had two bags of frozen cherries lying in the freezer, one icy with freezer burn, with the oozy juices from the cherry frozen solid. I’ve been meaning to use them up for months now. They would’ve made a classy clafoutis, if not for the fact that I also had a piece of shortcrust pastry that I defrosted a week back without any real plan for it. Then it all clicked, so cherry tart it was.
I was flipping through my cookbook stash and found the double blueberry tart in Kristen Miglore’s Genius Desserts cookbook (the recipe is on page 220), and thought it was a simple swap with the cherries.
As for the Instagram inspiration, Zoë François—the creator of many of my forever cake goals— recently put out a recipe for a swooshy, swirly S’mores Icebox Cake, with a messy mohawk-like burnt meringue topper that just called out to me.
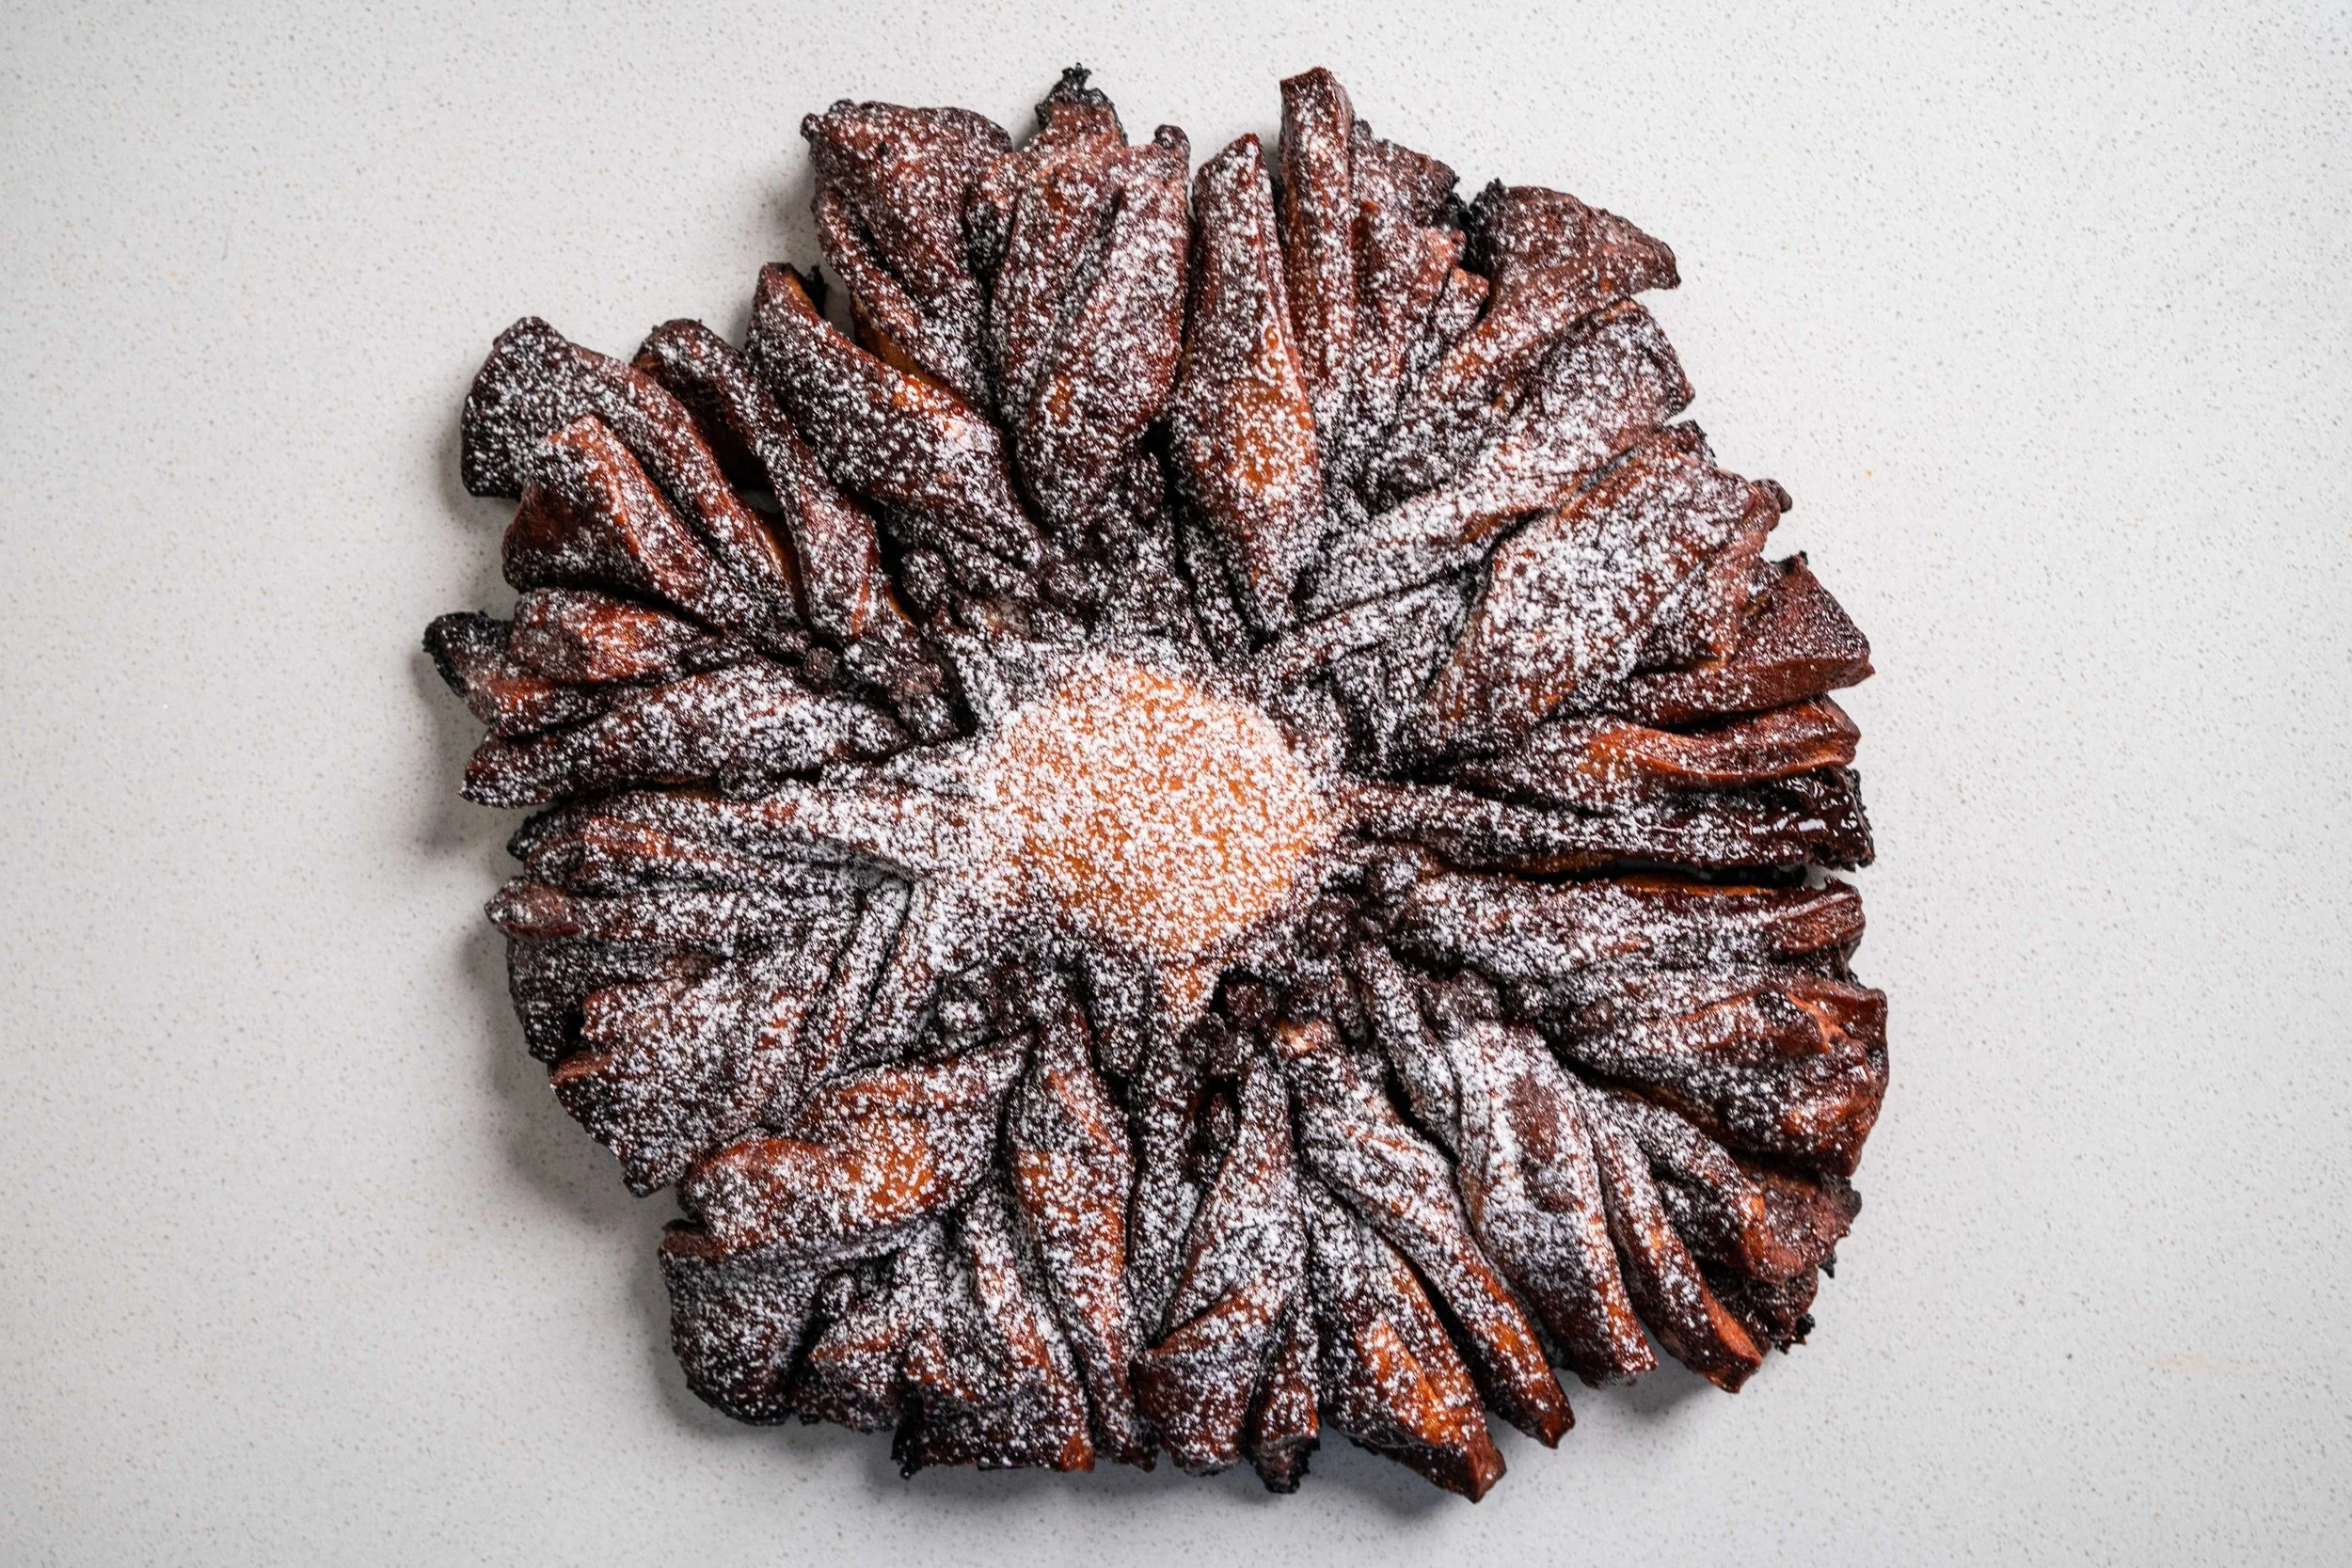
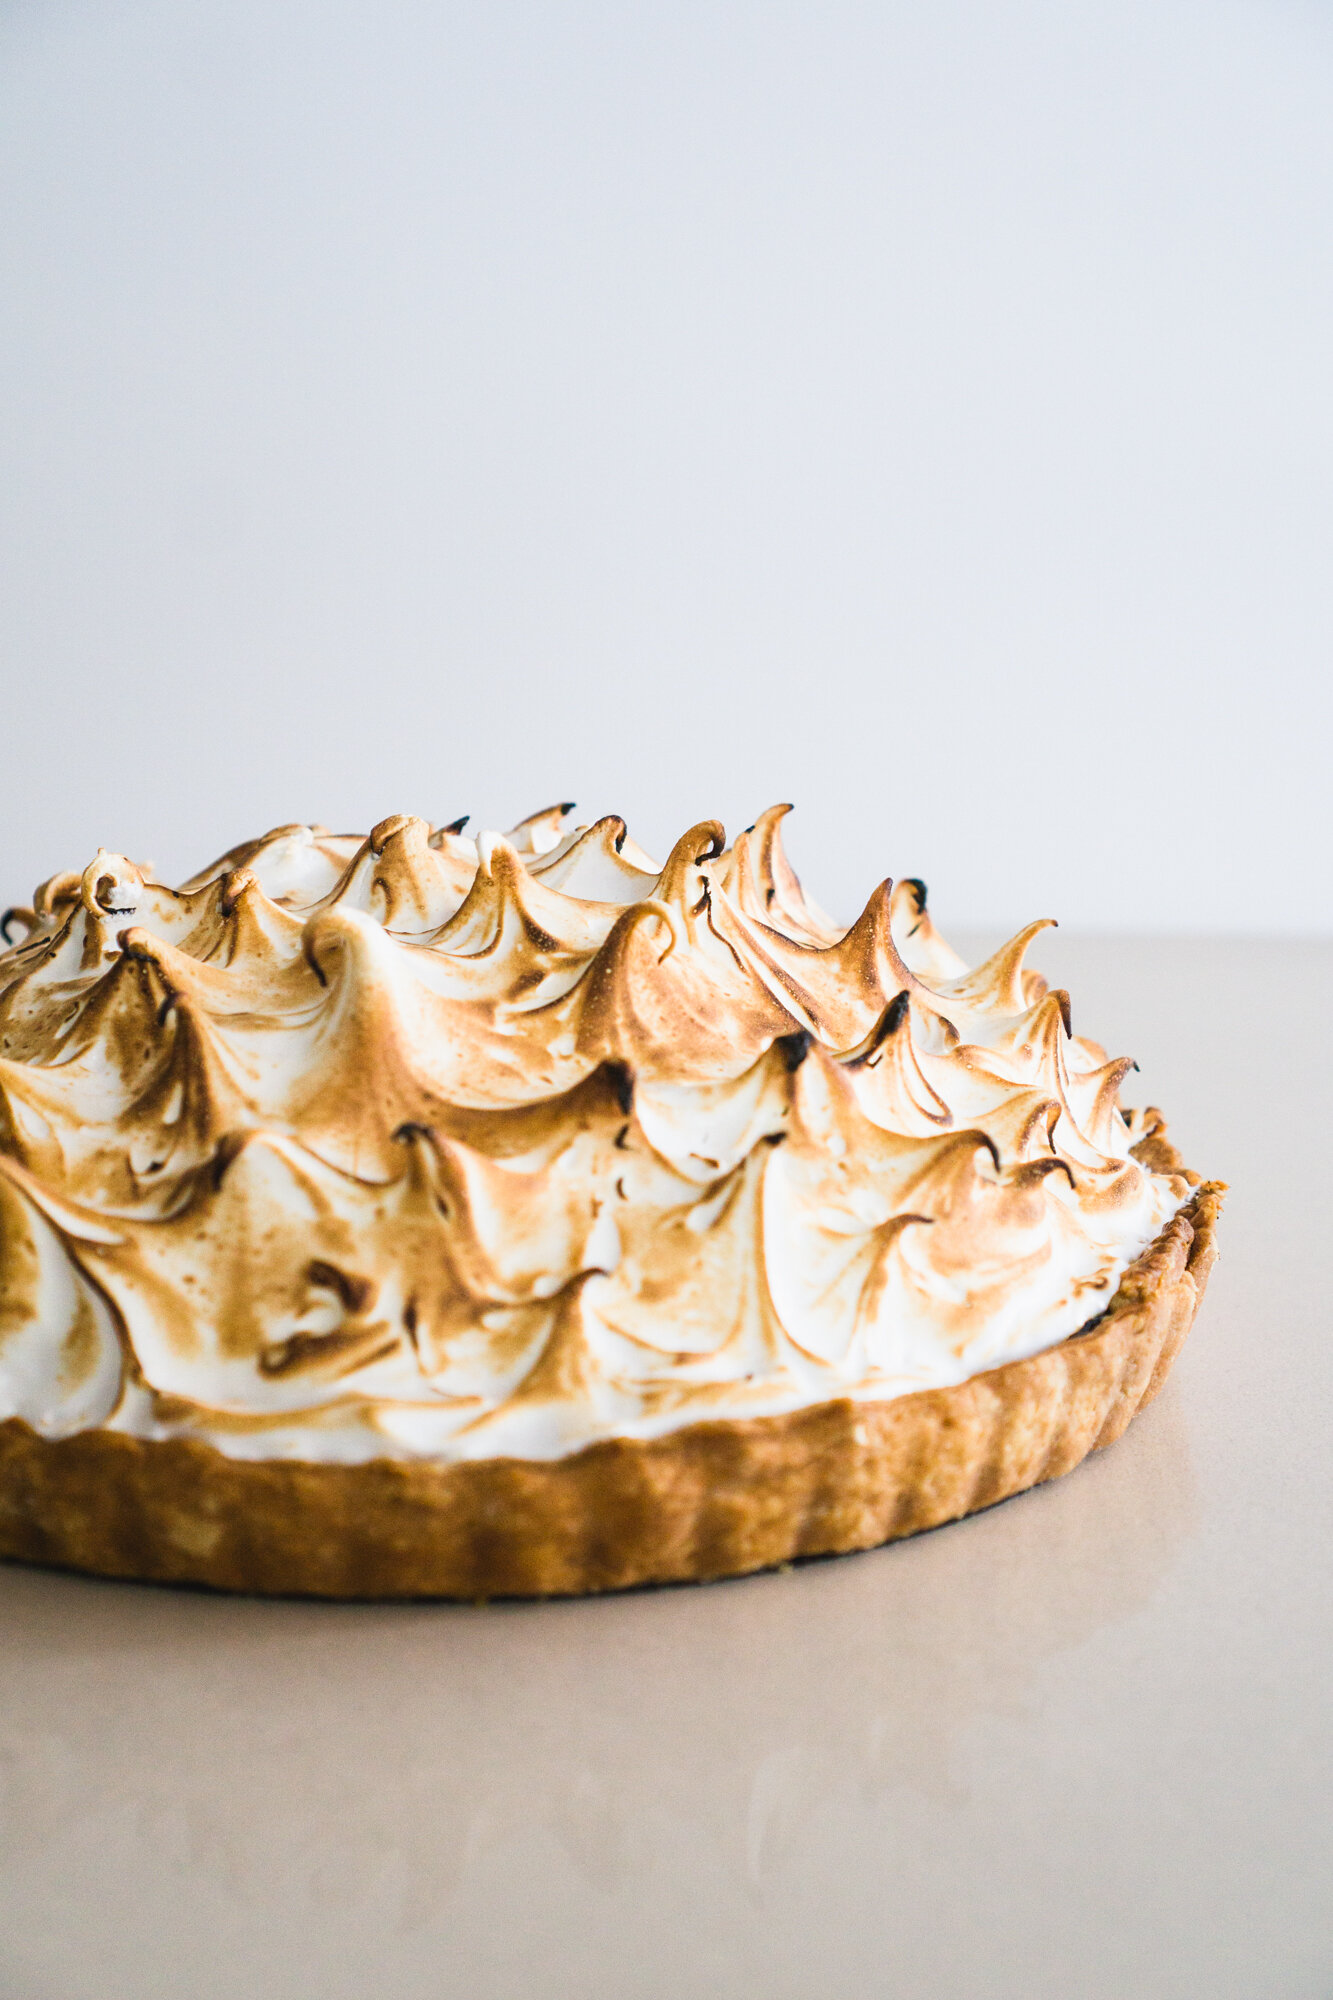
So, combining all three, I took the dark, bulbous cherries from the freezer, reduced them down into a jam, rolled out the buttery tart shell and nestled the cherry jam within with as much comfort as Kristen’s videos bring to the world. I baked the tart whole, and topped it all with swooshes of glistening meringue, and give it a few flame-blushes with the blowtorch. The result? This darling of a cherry tart—a dark, daunting, delicious jammy cherry base, with a swirly white, sugary meringue on top for contrast.
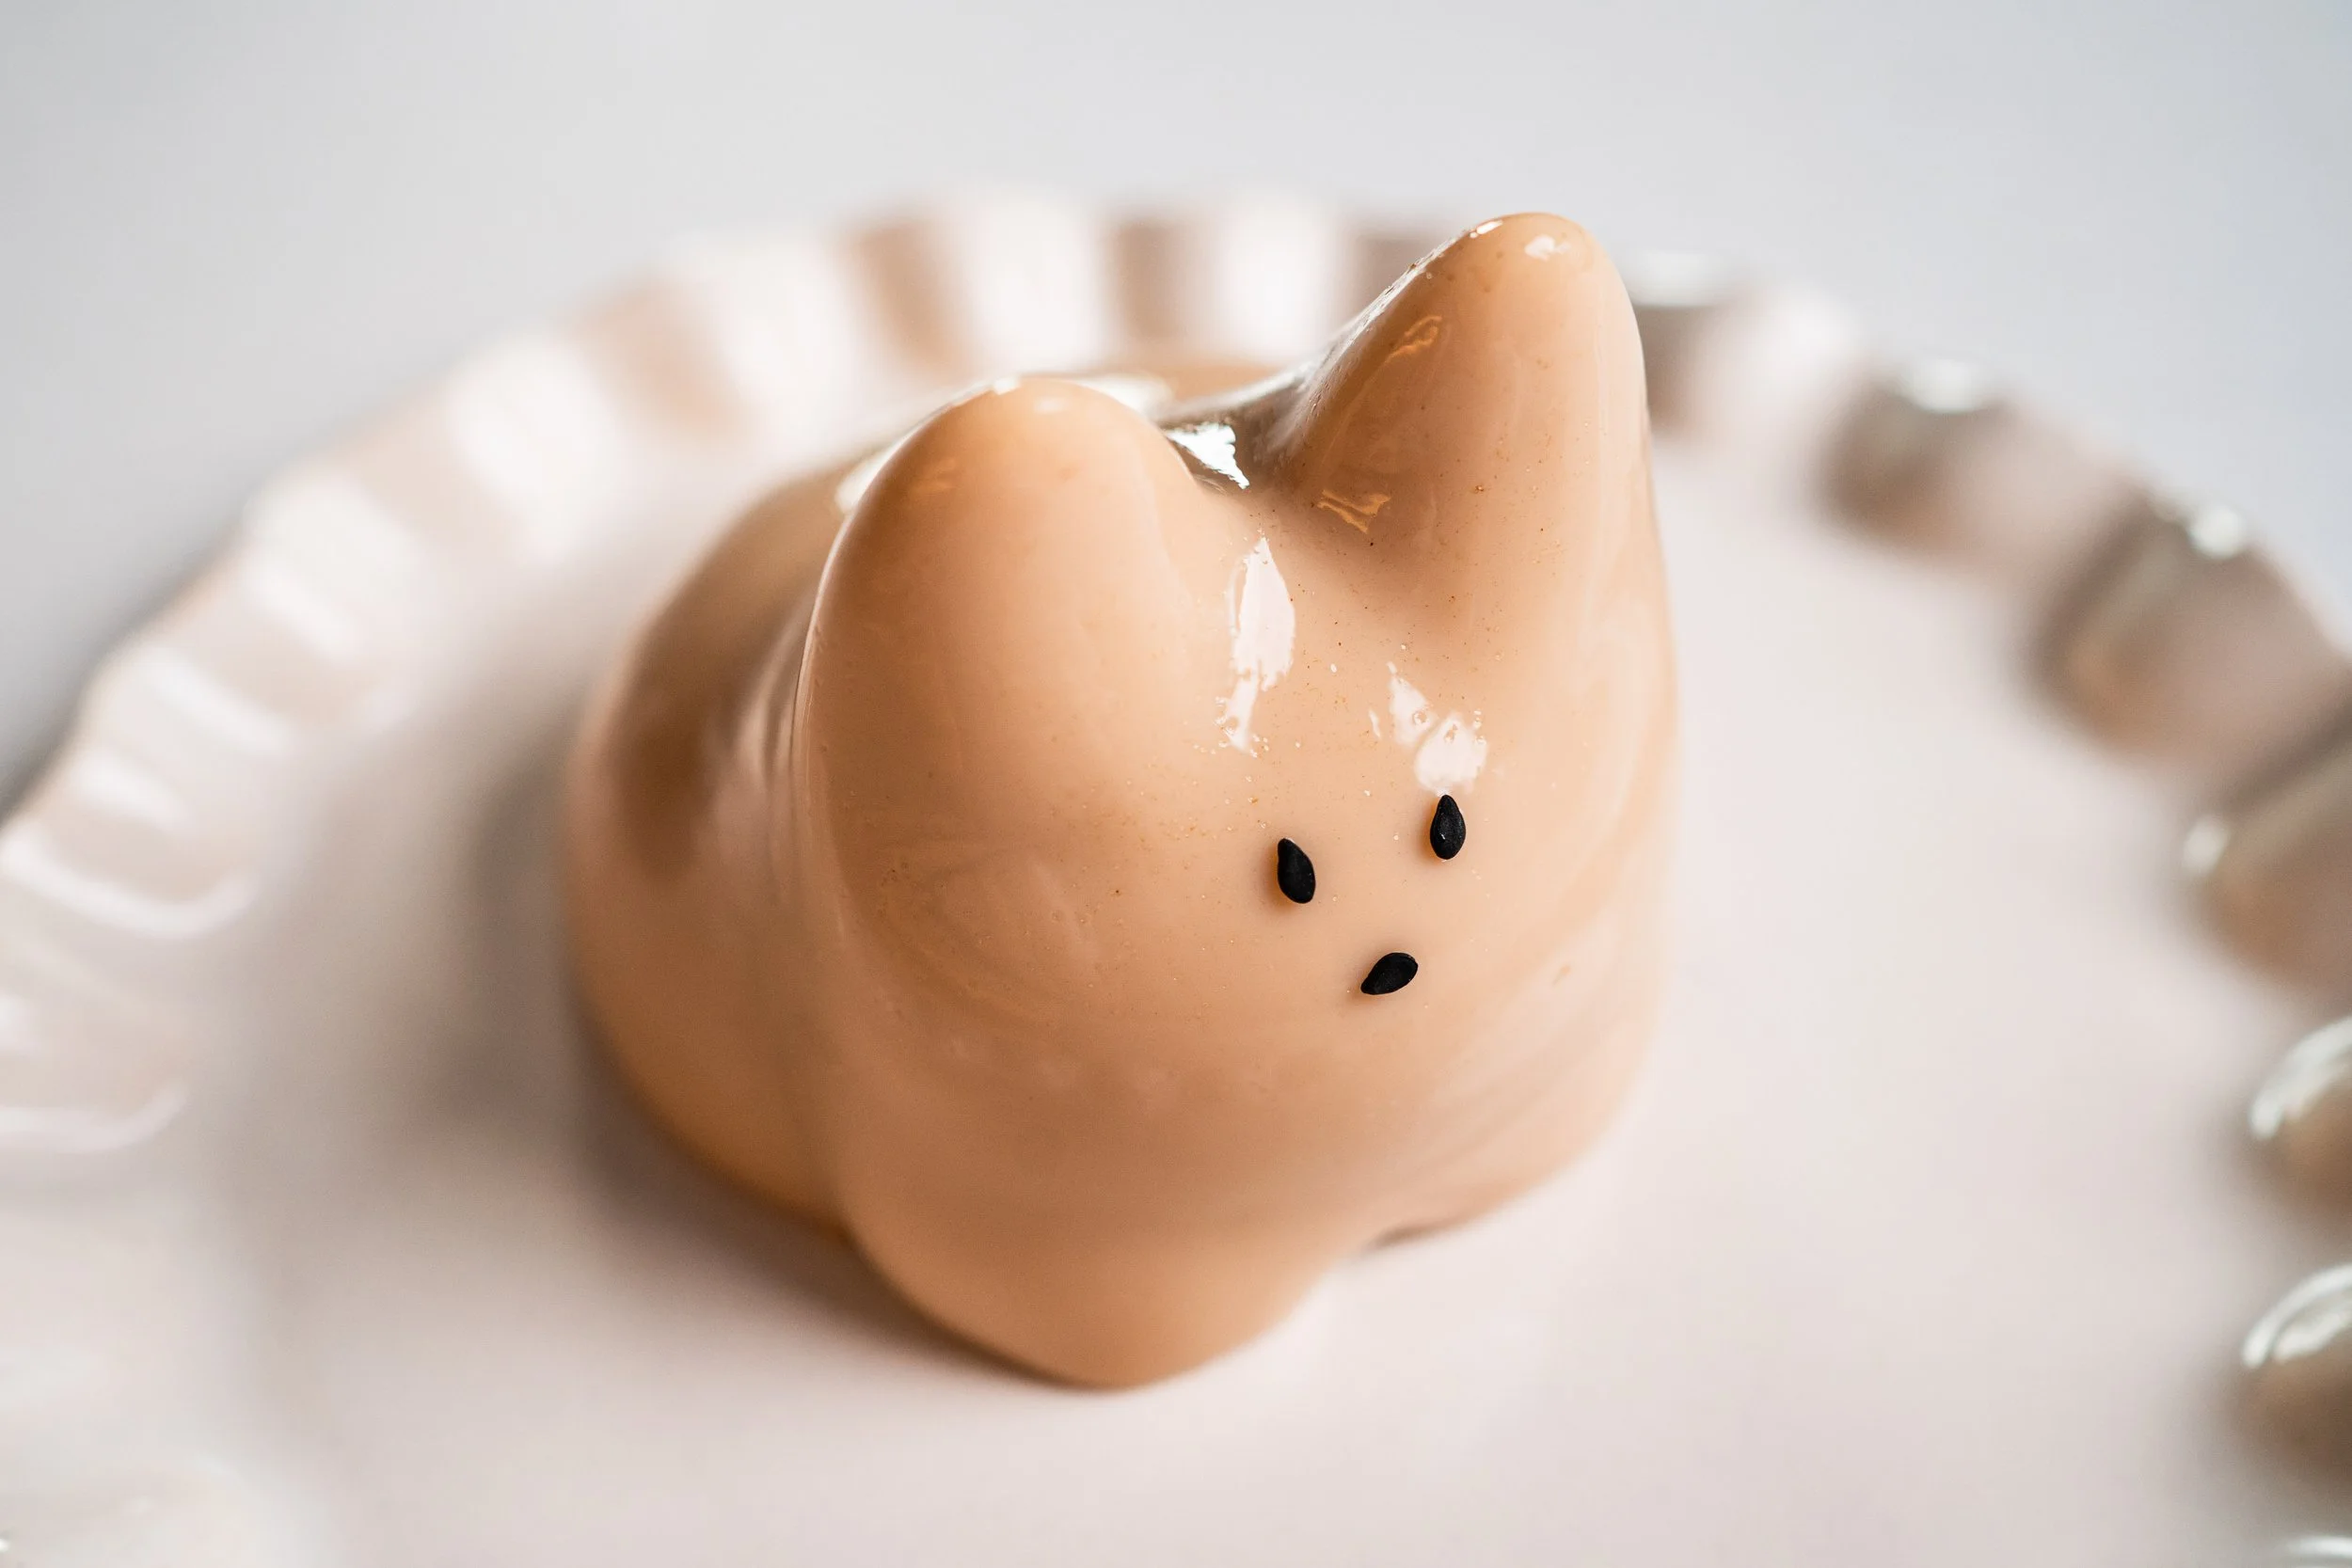
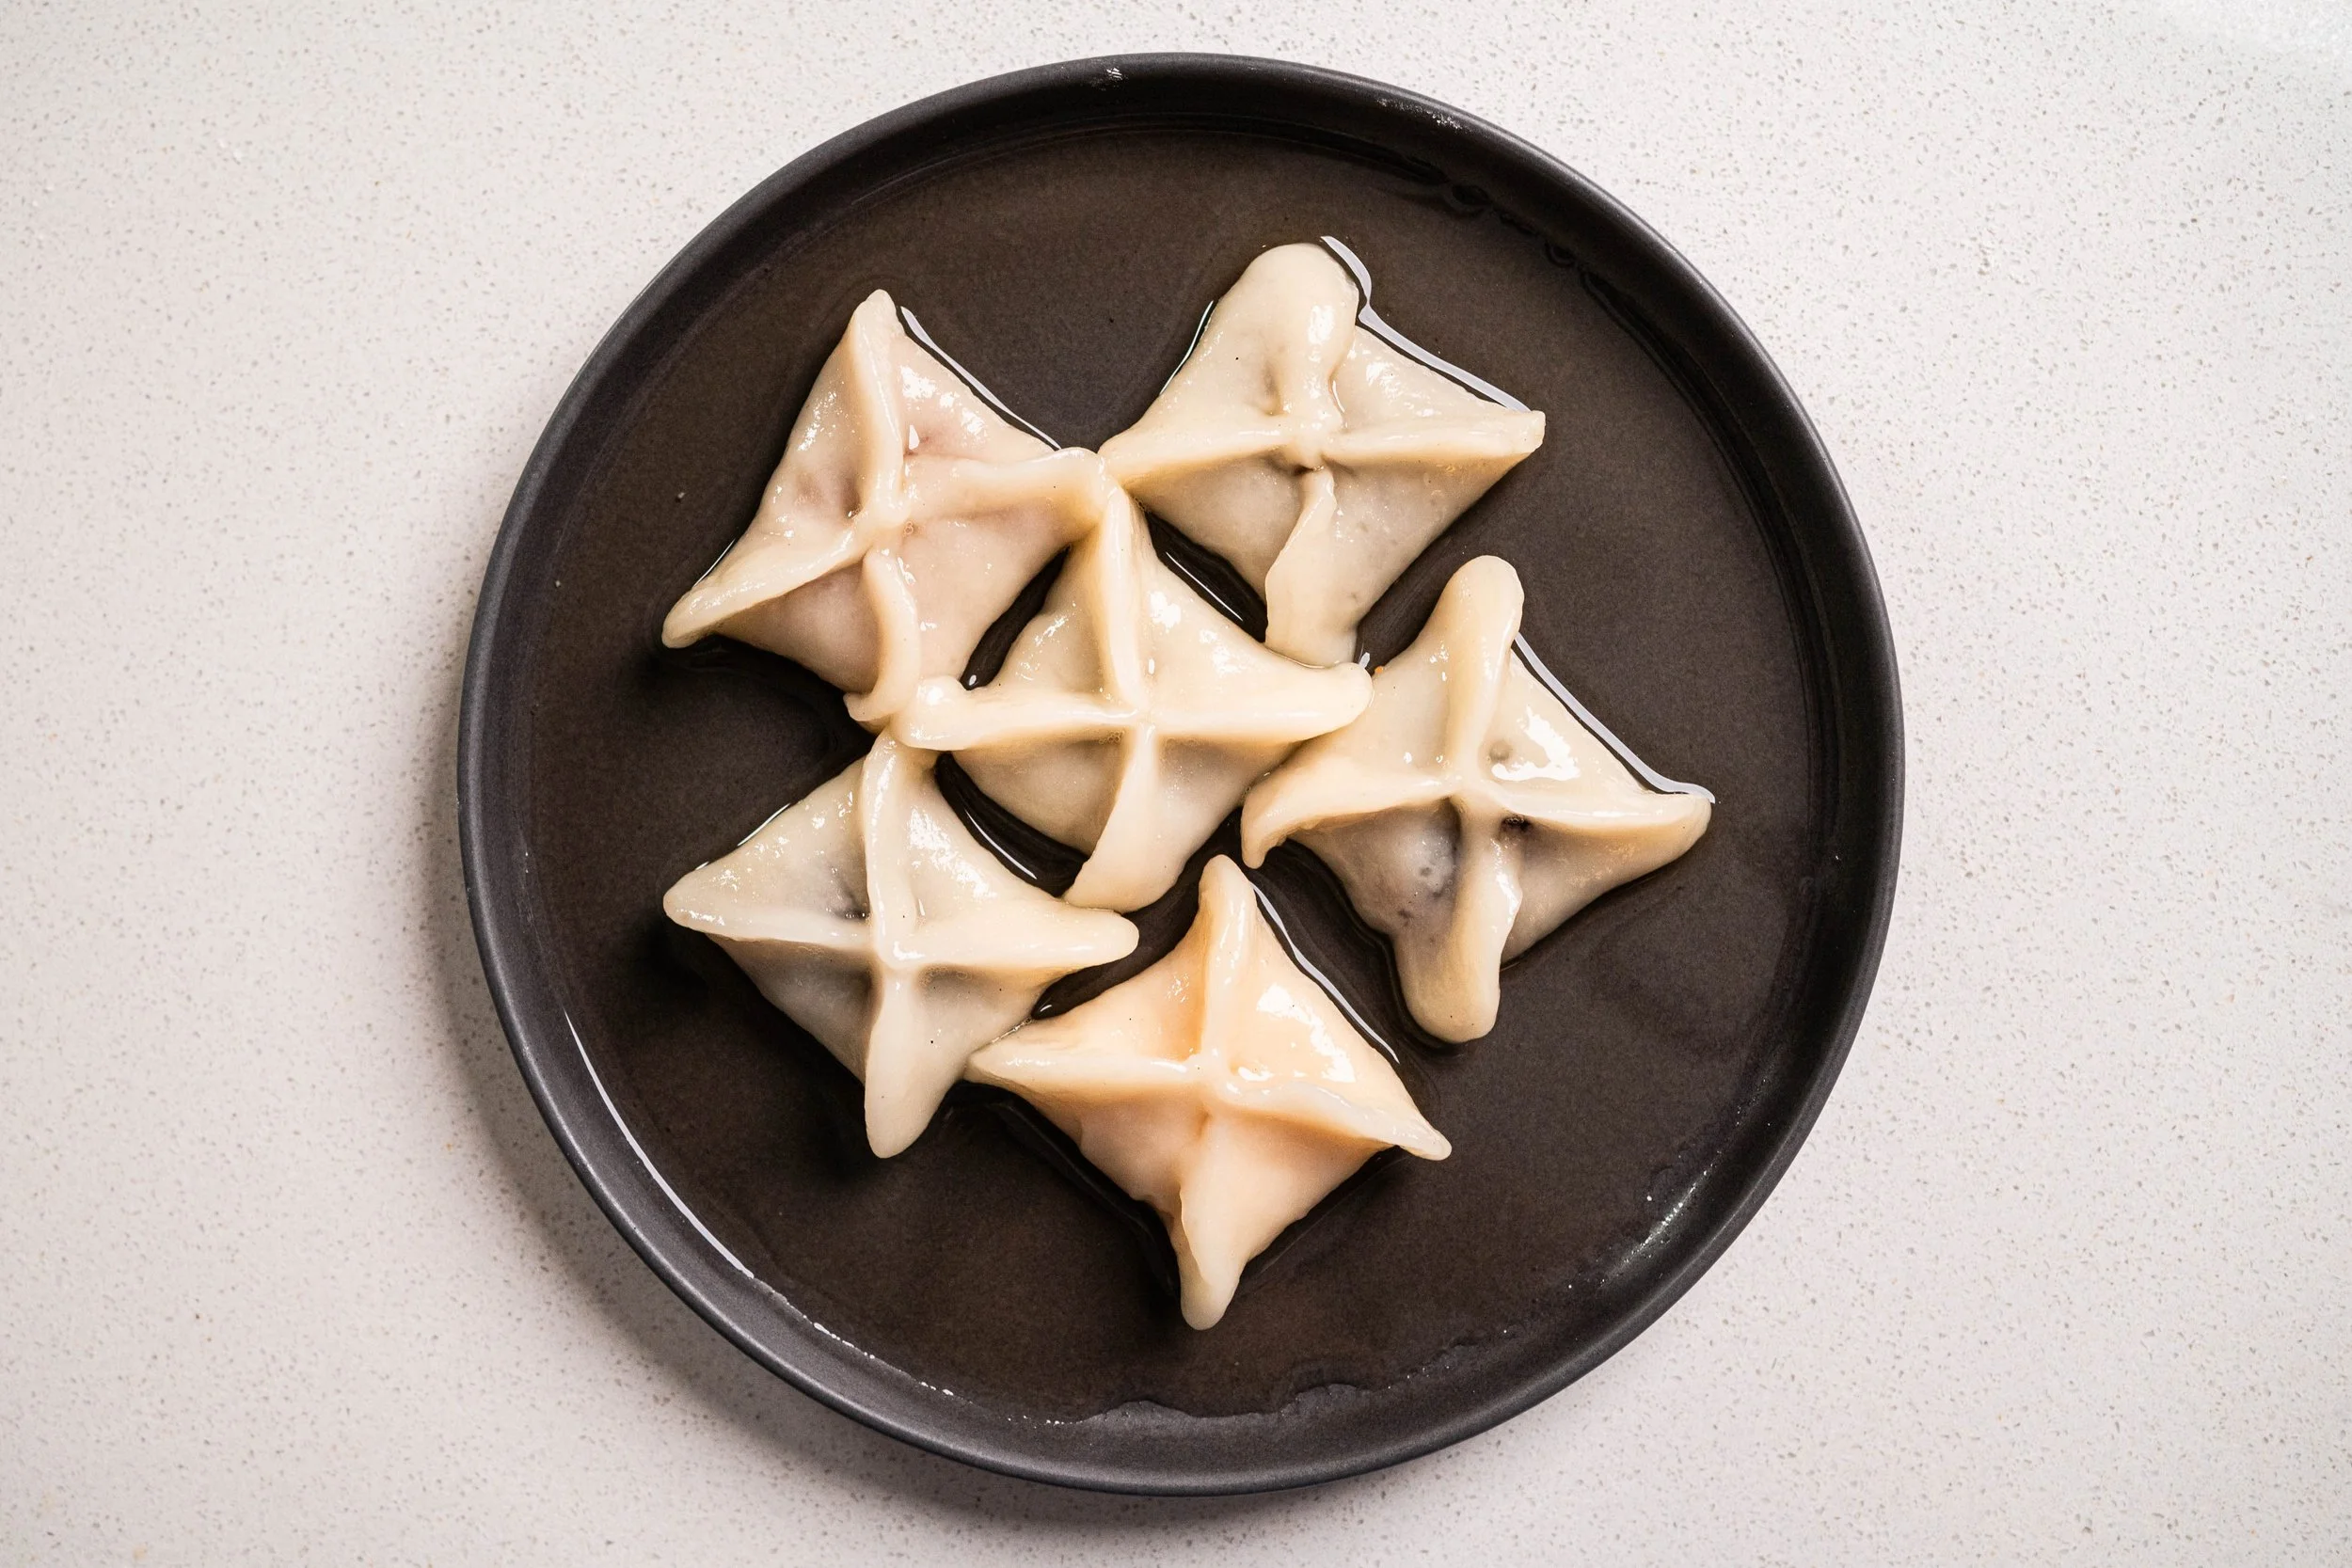
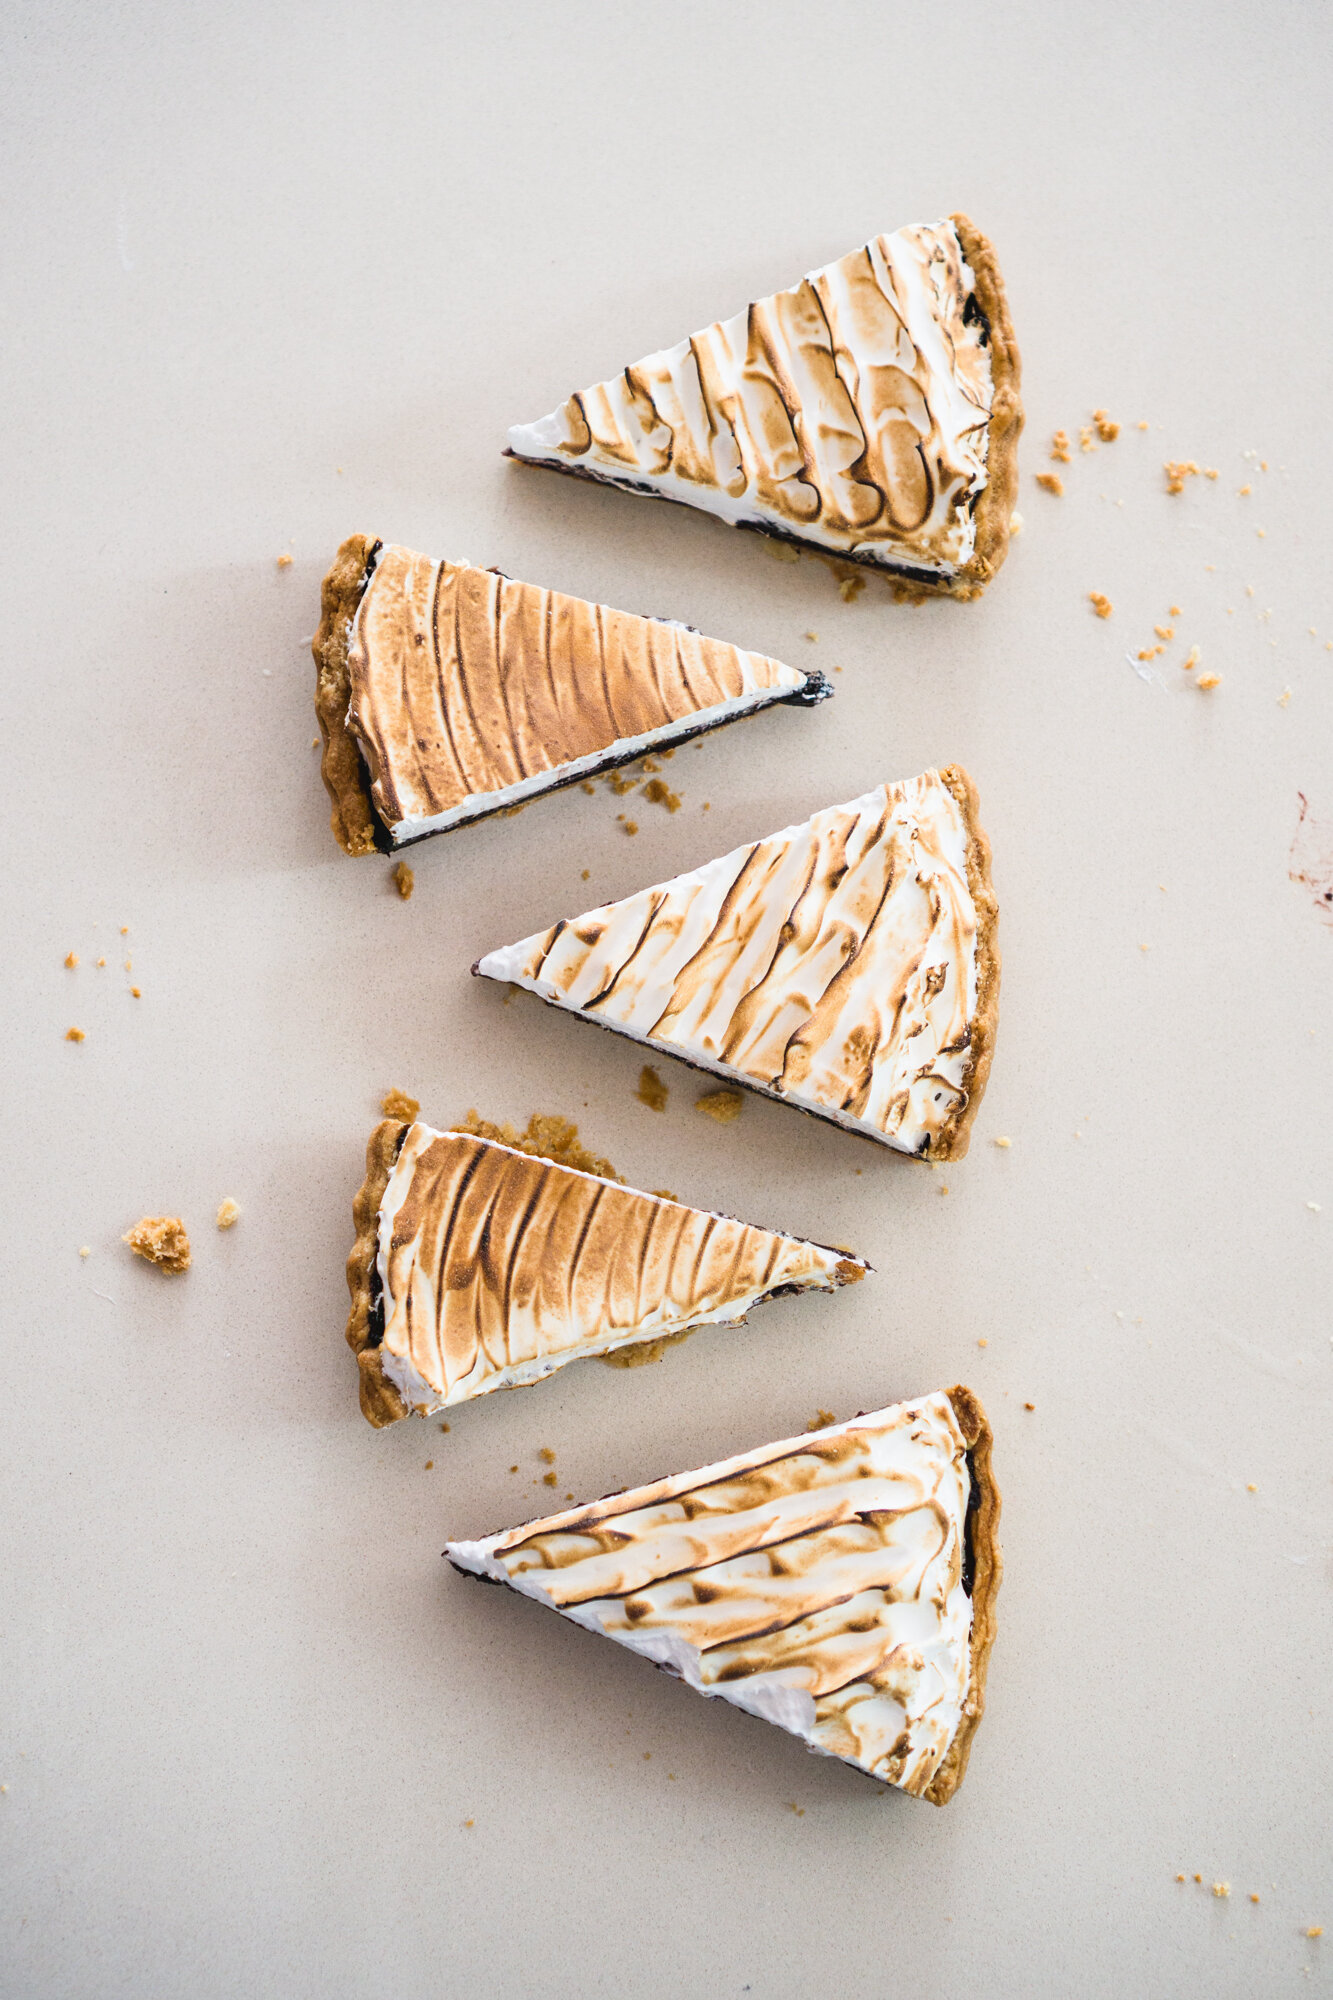
P.S. If you’re wondering about the different meringue designs, it’s the same tart, I just removed and plastered on more meringue and messed with some different designs. Pardon me for my need for creativity and rule-breaking, which came out through silly meringue designs since I didn’t have any room for any wacky Asian ingredients this time around.


Cherry Meringue Tart
Makes one 8-inch tart
Ingredients
Tart shell
100g (3/4 cup) all-purpose flour
2g (1/4 teaspoon) salt
100g (1/2 cup) cold butter, cut into 1/2-inch cubes
45ml (3 tablespoons) ice water, or more as needed
Filling
600g (21 oz) cherries (feel free to substitute this with any other berries)
50g (1/4 cup) light brown sugar
1g (1/4 teaspoon) ground cinnamon
0.5g (1/8 teaspoon) ground cloves
20g (2 tablespoons) all-purpose flour
Swiss meringue
4 egg whites
200g (1 cup) fine caster sugar
2g (1/2 teaspoon) salt
5g (1 teaspoon) vanilla extract
Directions
Tart shell: In a large bowl, combine the flour and salt. Then, add in the butter, and rub the butter into the flour until it turns into a sandy texture. (I find rubbing them in between your palms works best) Then, add in the ice water, and knead the dough until it just comes together. (Alternatively, you can do this in a food processor; Pulse the flour, salt, and butter until sandy, then bring it together with the water.) When the dough comes together, wrap it in plastic wrap and place it in the refrigerator for at least an hour before use. (Alternatively, if you’re not making it within the next 2 days, you can freeze the dough and defrost it at a later date.)
Filling: Combine the cherries, light brown sugar, cinnamon, and cloves in a bowl. (If using frozen cherries, strain out the liquid that’s released as the cherry defrosts, and reduce that in a pot over medium heat, until the liquid is reduced to the consistency of honey.) Then, add this back to the cherries, dust in the all-purpose flour and stir them all together.
Baking prep: Heat the oven to 200°C (400°F). And ready a 8 or 9-inch springform pan or a fluted tart pan for the tart.
Rolling out the tart: Take the tart dough out of the fridge, and place it on a well-dusted surface. With a rolling pin, roll out the tart dough into a circle at least 25cm (10 inches) in diameter. Then, lift up the tart dough and place it into a springform pan or a fluted tart pan. Gently sit the dough into the corners of the pan, and trim off the excess dough. Gently dock the bottom of the tart with a fork, making shallow dimples onto the dough. (This is to prevent any large air bubbles from forming as the tart bakes.) Place the cherry filling into the tart.
Baking: Bake the cherry tart for 30 minutes, then reduce the temperature to 180°C and bake for a further 15 minutes, until the cherry filling is thick and bubbly, and the crust is a deep shade of golden. When done, place the tart on a wire rack to cool to room temperature.
Making meringue: In the bowl of a stand mixer, combine the egg whites, sugar, and salt. Place this over a steam bath (essentially, place the bowl on top of a pot of a boiling water, without the base of the bowl touching the water) and stir it continuously for 3-4 minutes, until the mixture thins out and the sugar dissolves, and the liquid is hot to touch. Then, transfer the bowl onto the stand mixer, and with a whisk attachment, whisk on high speed for 6-8 minutes, to stiff peaks. Add in the vanilla extract and whisk for an addition 10 seconds to incorporate the vanilla.
Decorating and finishing: Dollop the meringue on top of the tart (you don’t have to use all of the meringue), spread it across the whole tart, and decorate it with any pattern you like! (To make the spiky, durian-like pattern, dip a small whisk into the meringue and pull out quickly, and repeat this all over the meringue.) Torch it with a blowtorch to add some of that s’mores-like toastiness to the tart. Then, slice it up (try not to drop it as I did) and serve!
More Fun Recipes!