
Starfruit Upside-Down Cake
While I’d love to say that my love for all fruits are equal, just like how every primary school teacher has their favourite (and least favourite) child in each class, I definitely have my fruit biases too. In the same vein though, just like how teachers should try to coax the best out of each kid, I’d treat my fruits the same. So this week, I’m sending my least favourite fruit for remedial classes. Starfruit, principal’s office, now.
Yes. Starfruits, to me, are one of the most underwhelming fruits out there. While they might look visually unique and enticing, their tannic, turgid, limp-apple texture, along with a flavour comparable to that of a nowhere-near-ripe pineapple, starfruit is that kid in class that on initial glance, seem to have the makings of an A-star student (pun intended), but in exams, when it matters most, just keeps flunking. It’s the Madonna of fruits, really—tons of flair, fireworks and shape-throwing, often considered a star, but struggles to keep up with the rest of the pack. (Sorry, Madonna fans.)
But as an exemplar teacher-slash-cook, I wanted to bring out the best in my student-starfruit, giving it a vessel, a stage on which its innate strength can shine. And what is starfruit’s strength, you might ask? Why, its shape, of course!
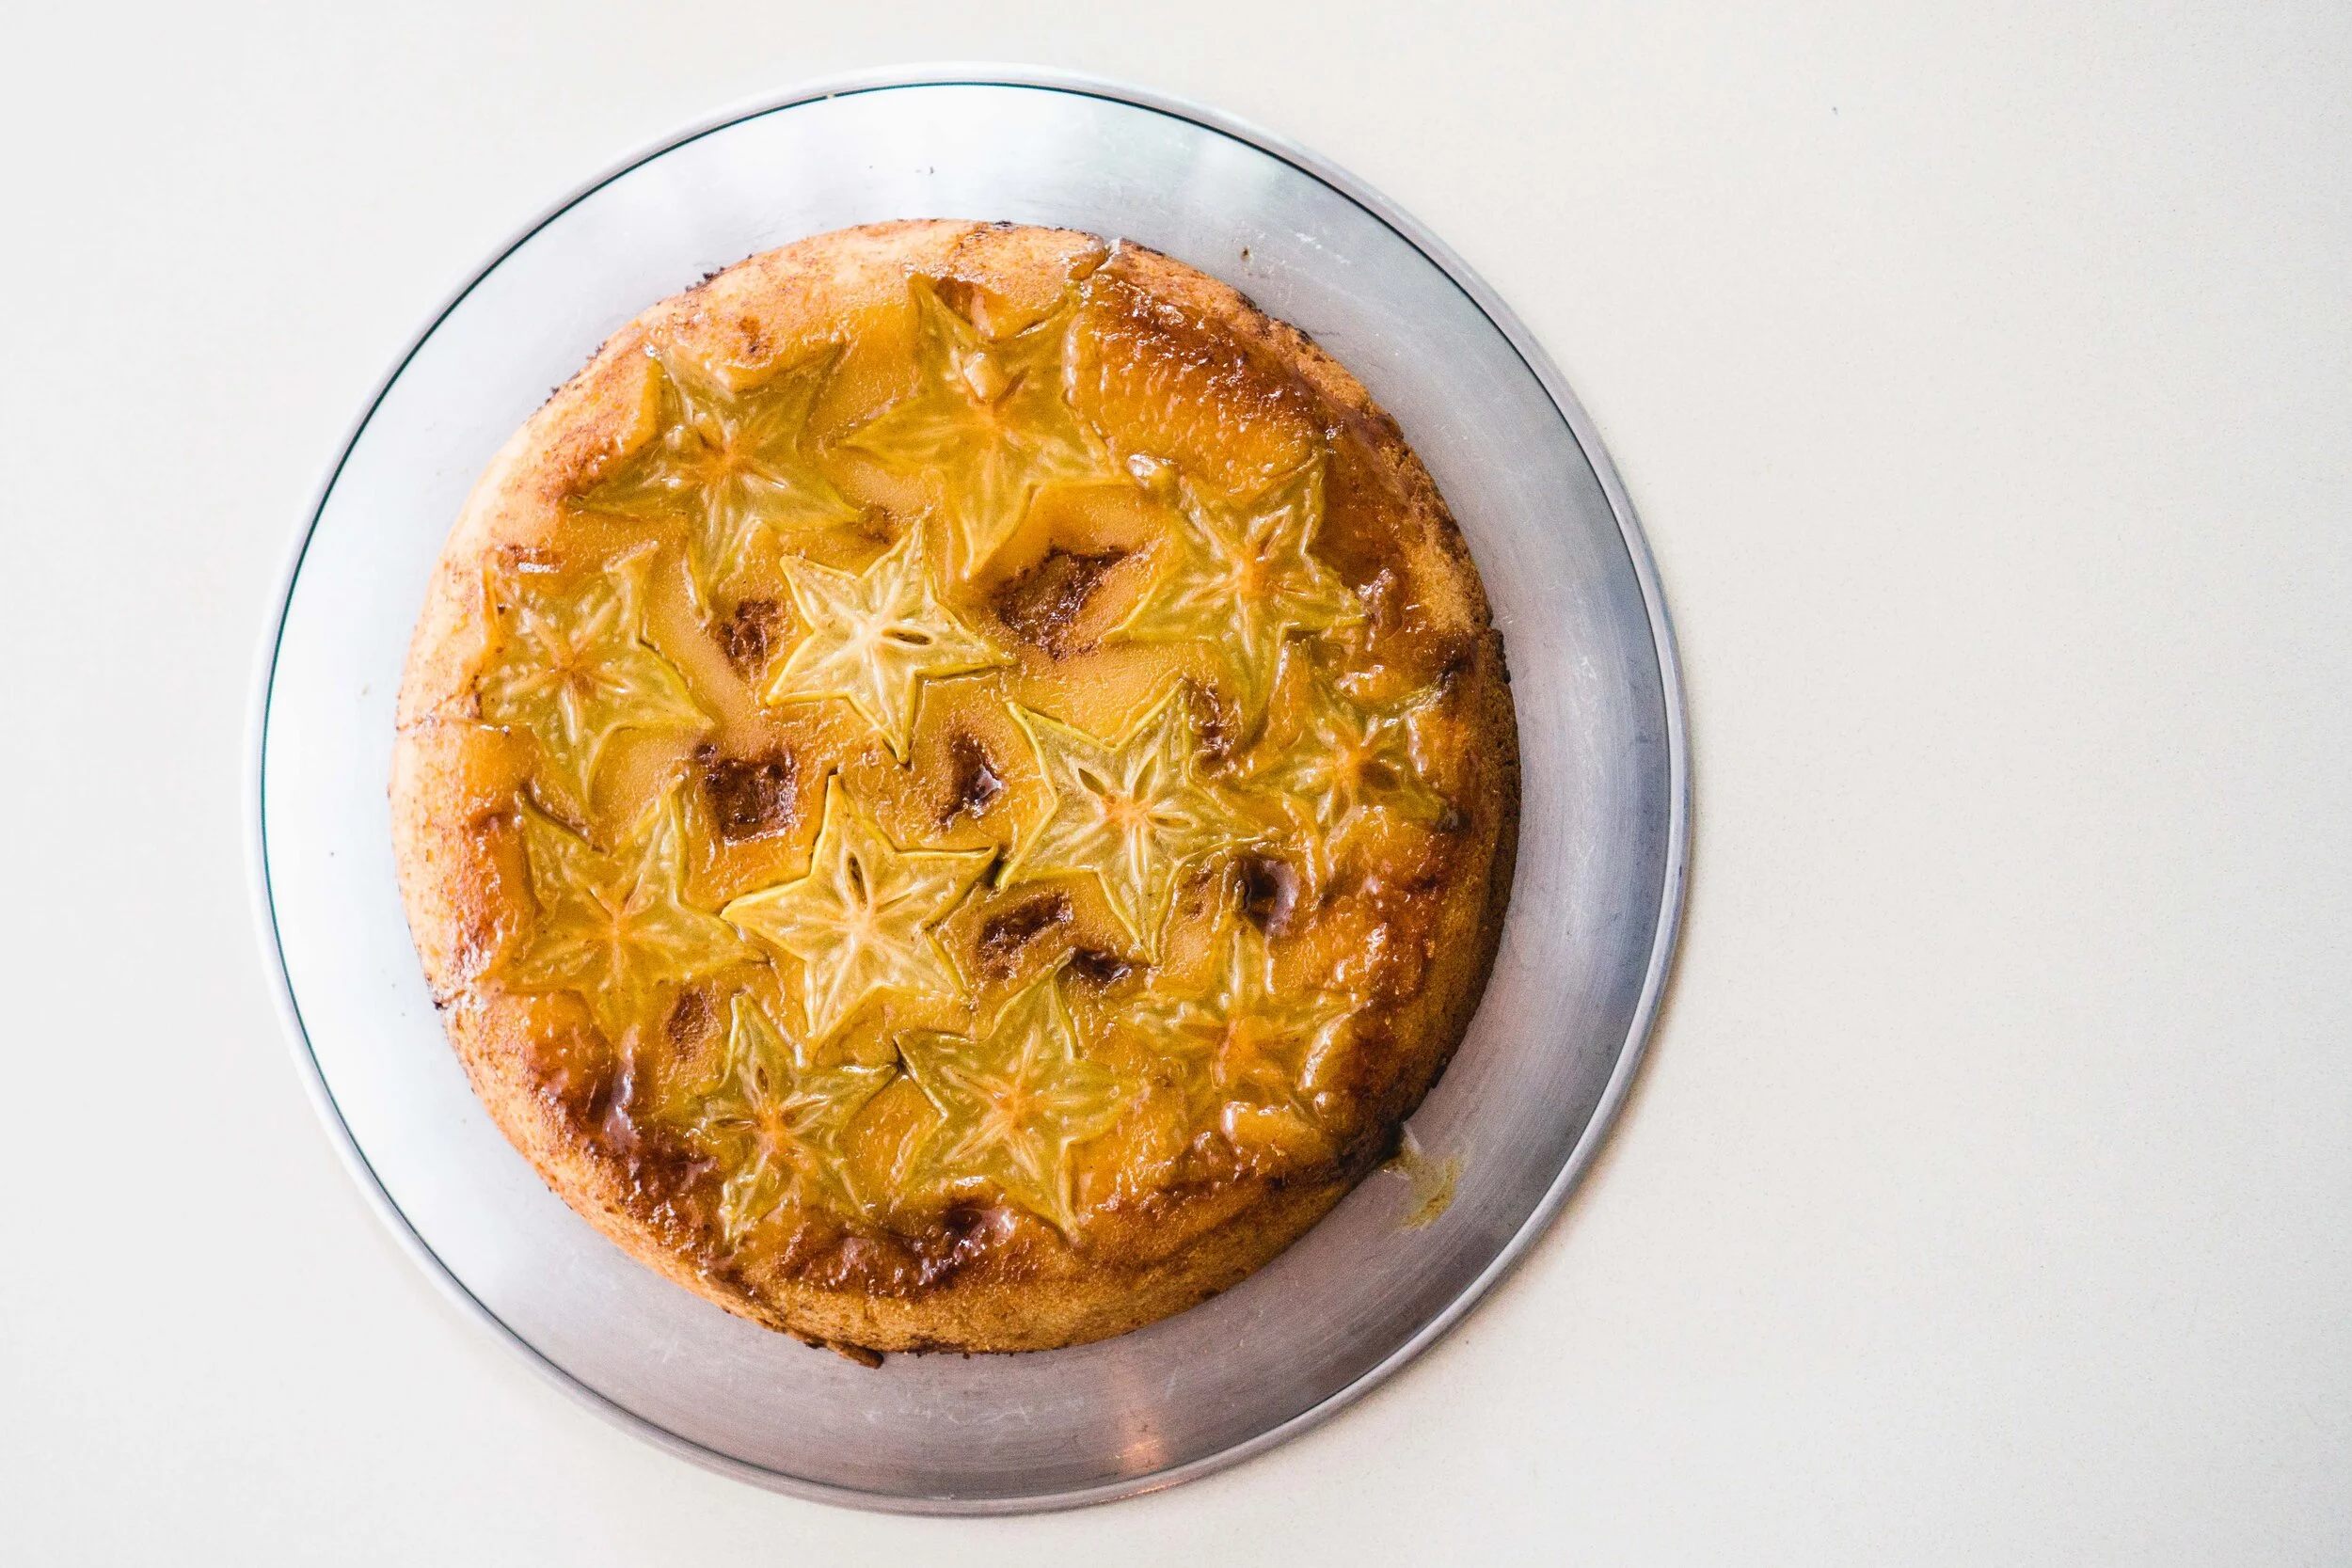
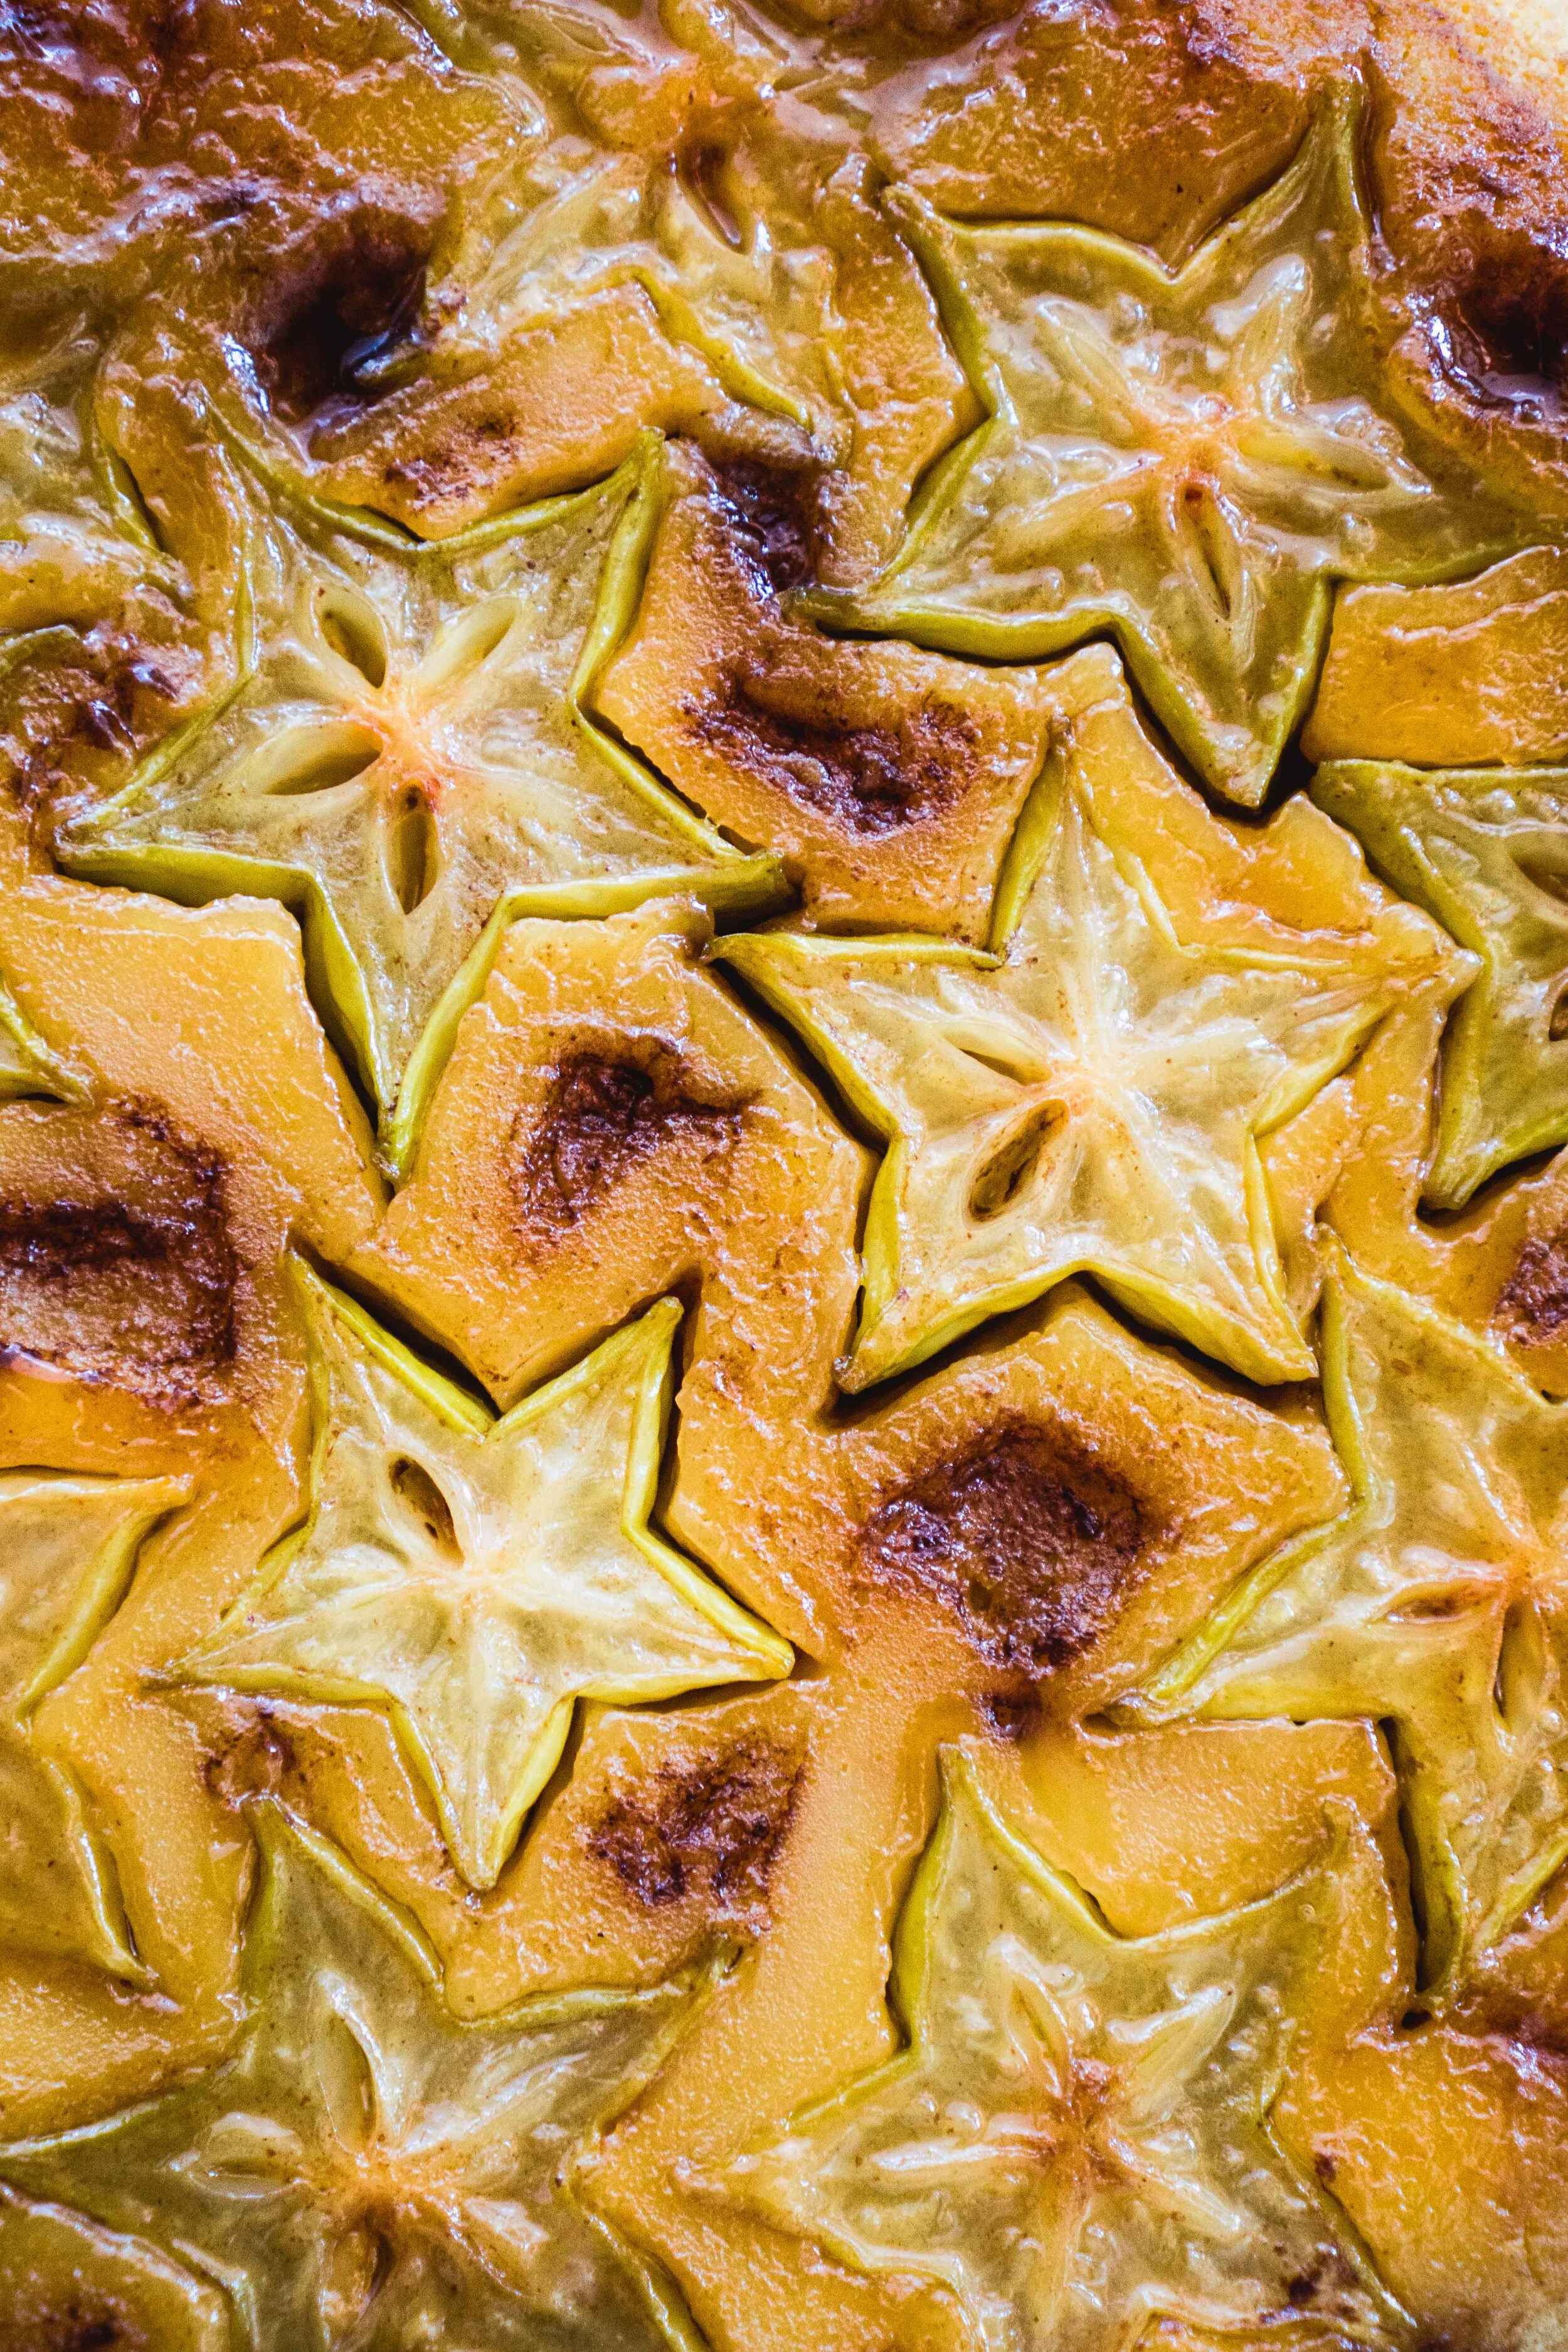
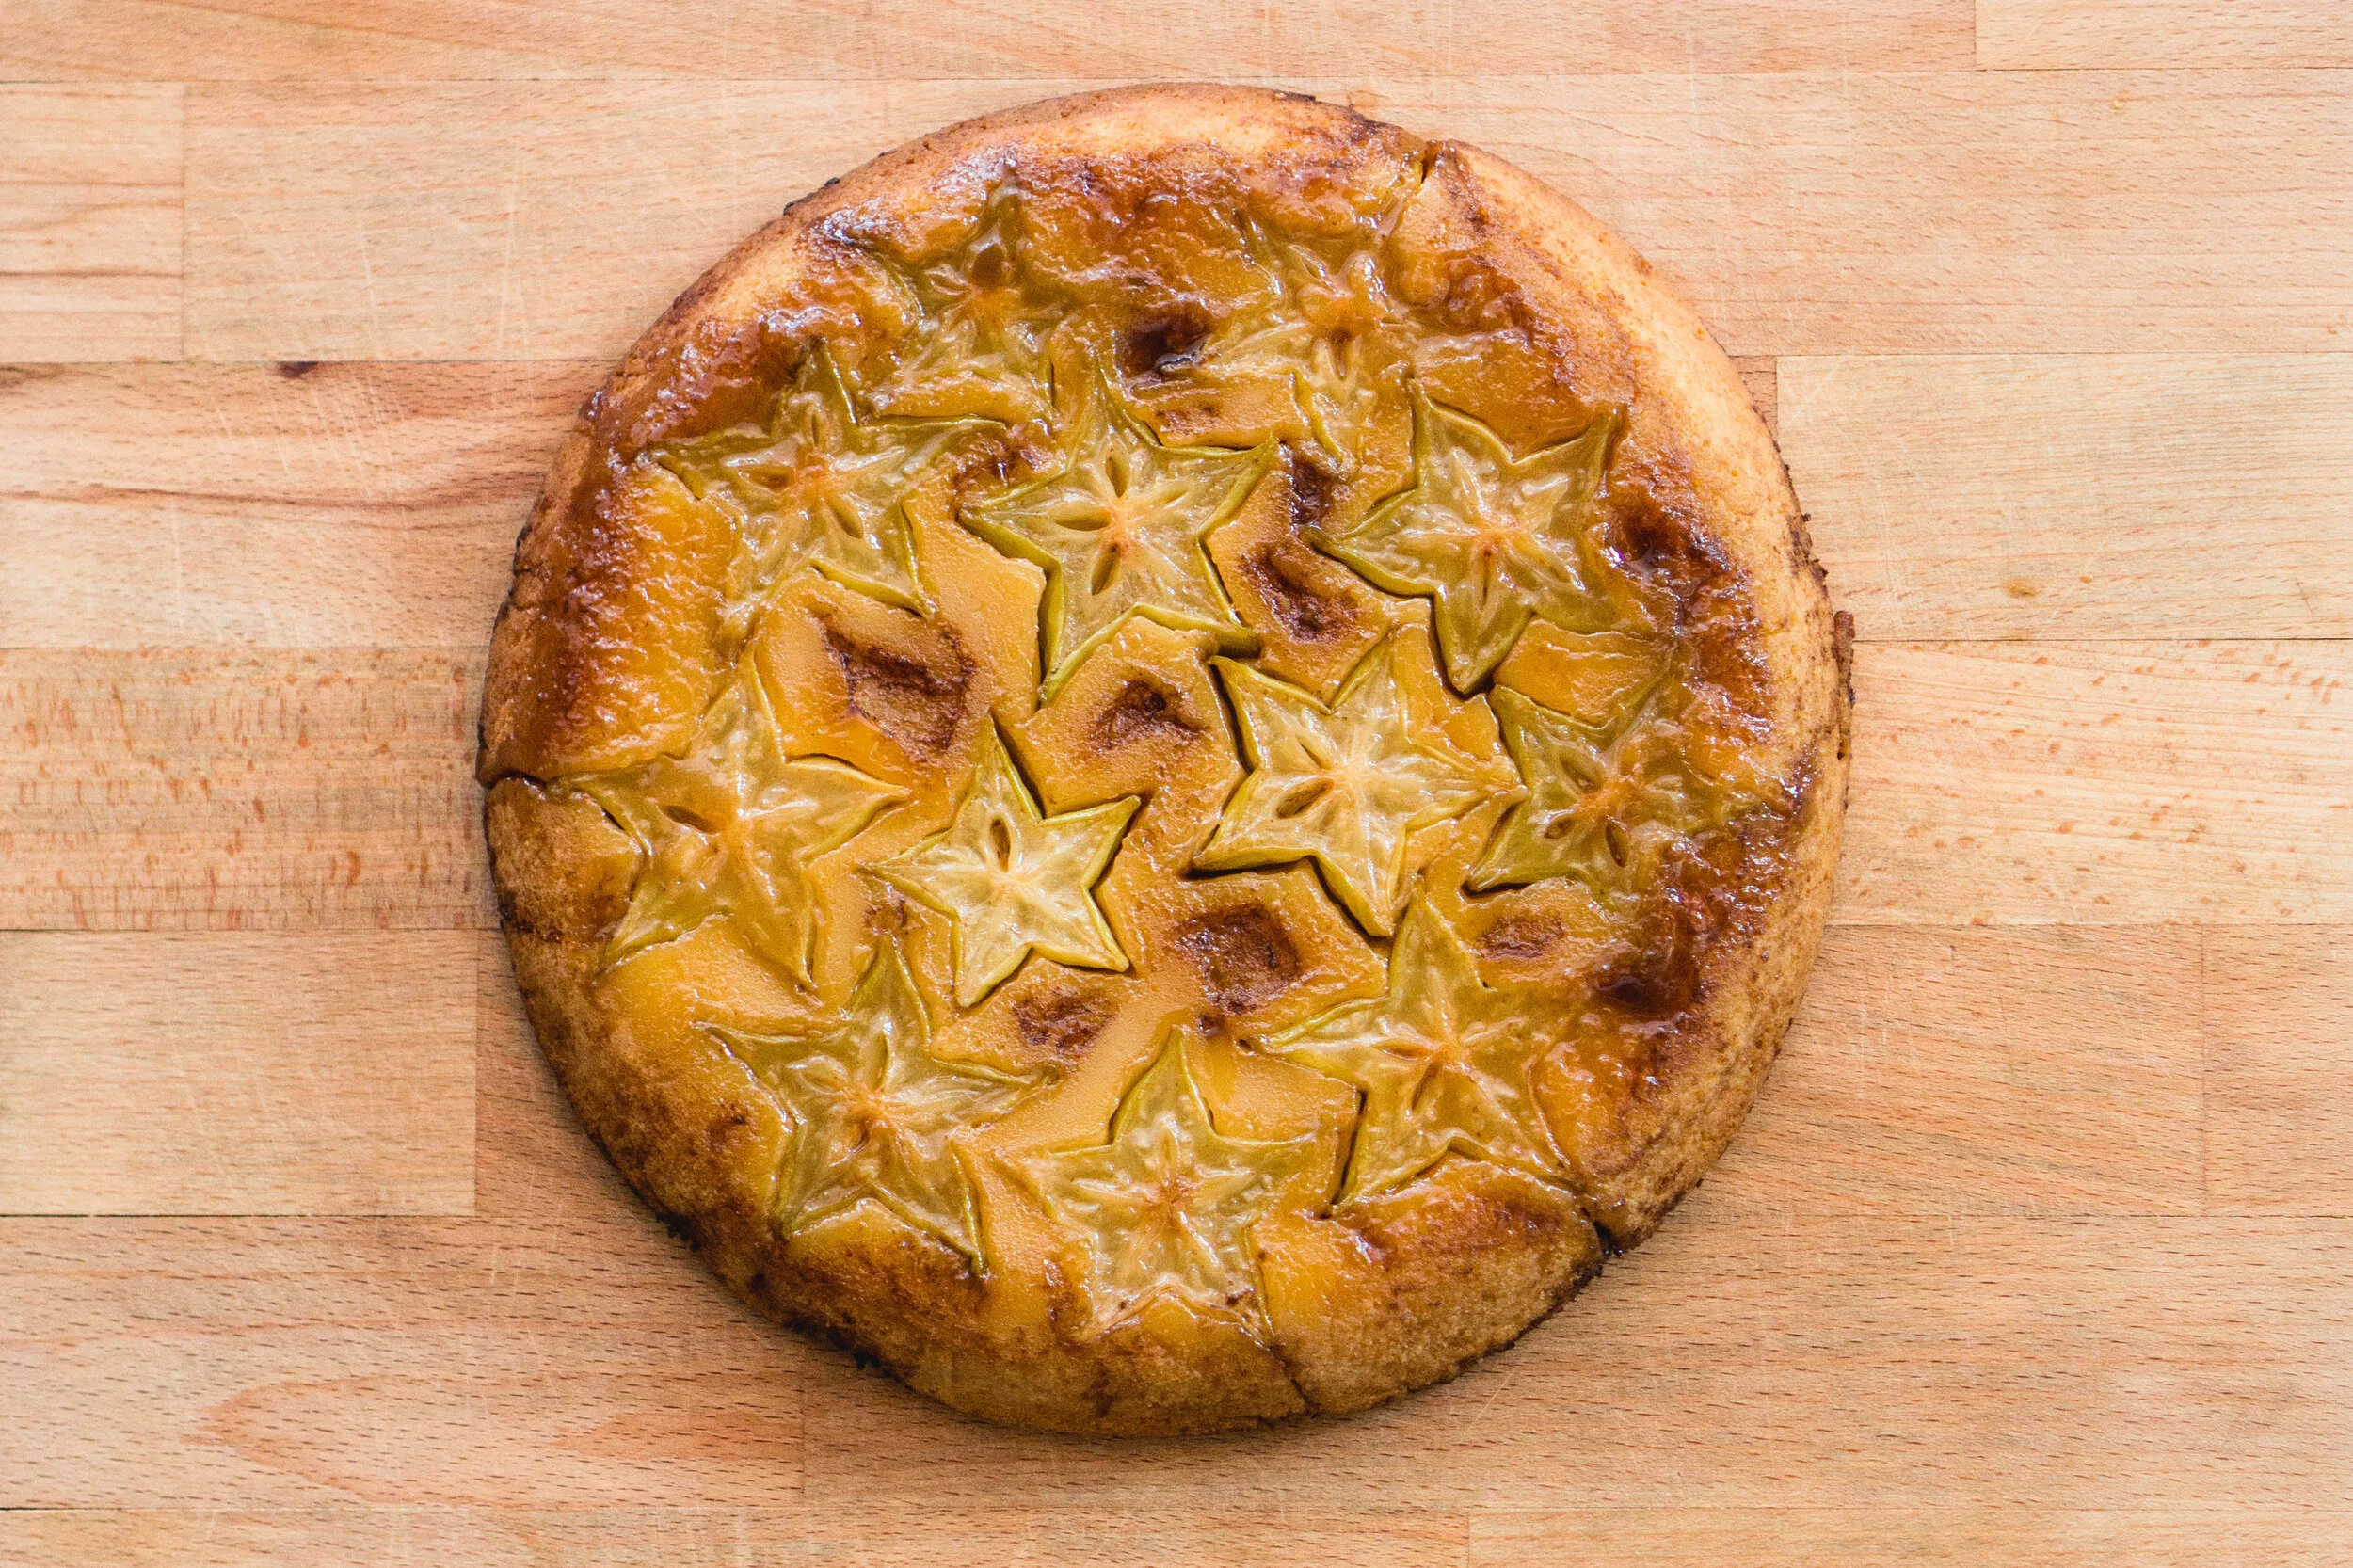
And what better pastry item to show off shapes than in an upside-down cake! While pineapple rings and a flourish of glazed peach slices can look like stunners, they’ve got nothing on the literal star of fruits. After cooking it in caramel and after a thorough bake, the slices of starfruit still maintain their shape on top of the cake, flaunting off all of their angles in full cosmic glory.
Along with showing off starfruit’s shape, working it in an upside-down cake also gives it more flavour. Turns out there’s nothing a little sugar and butter can’t fix. By cooking it in caramel, and giving it a cushion of lemon-scented cake to sit on, the sweet tanginess of the stars is amplified, and its tropical perfume is coaxed right out of its rigid cell walls too, becoming, in all sense of the word, a star.
Starfruit Upside-Down Cake
Serve 4-8
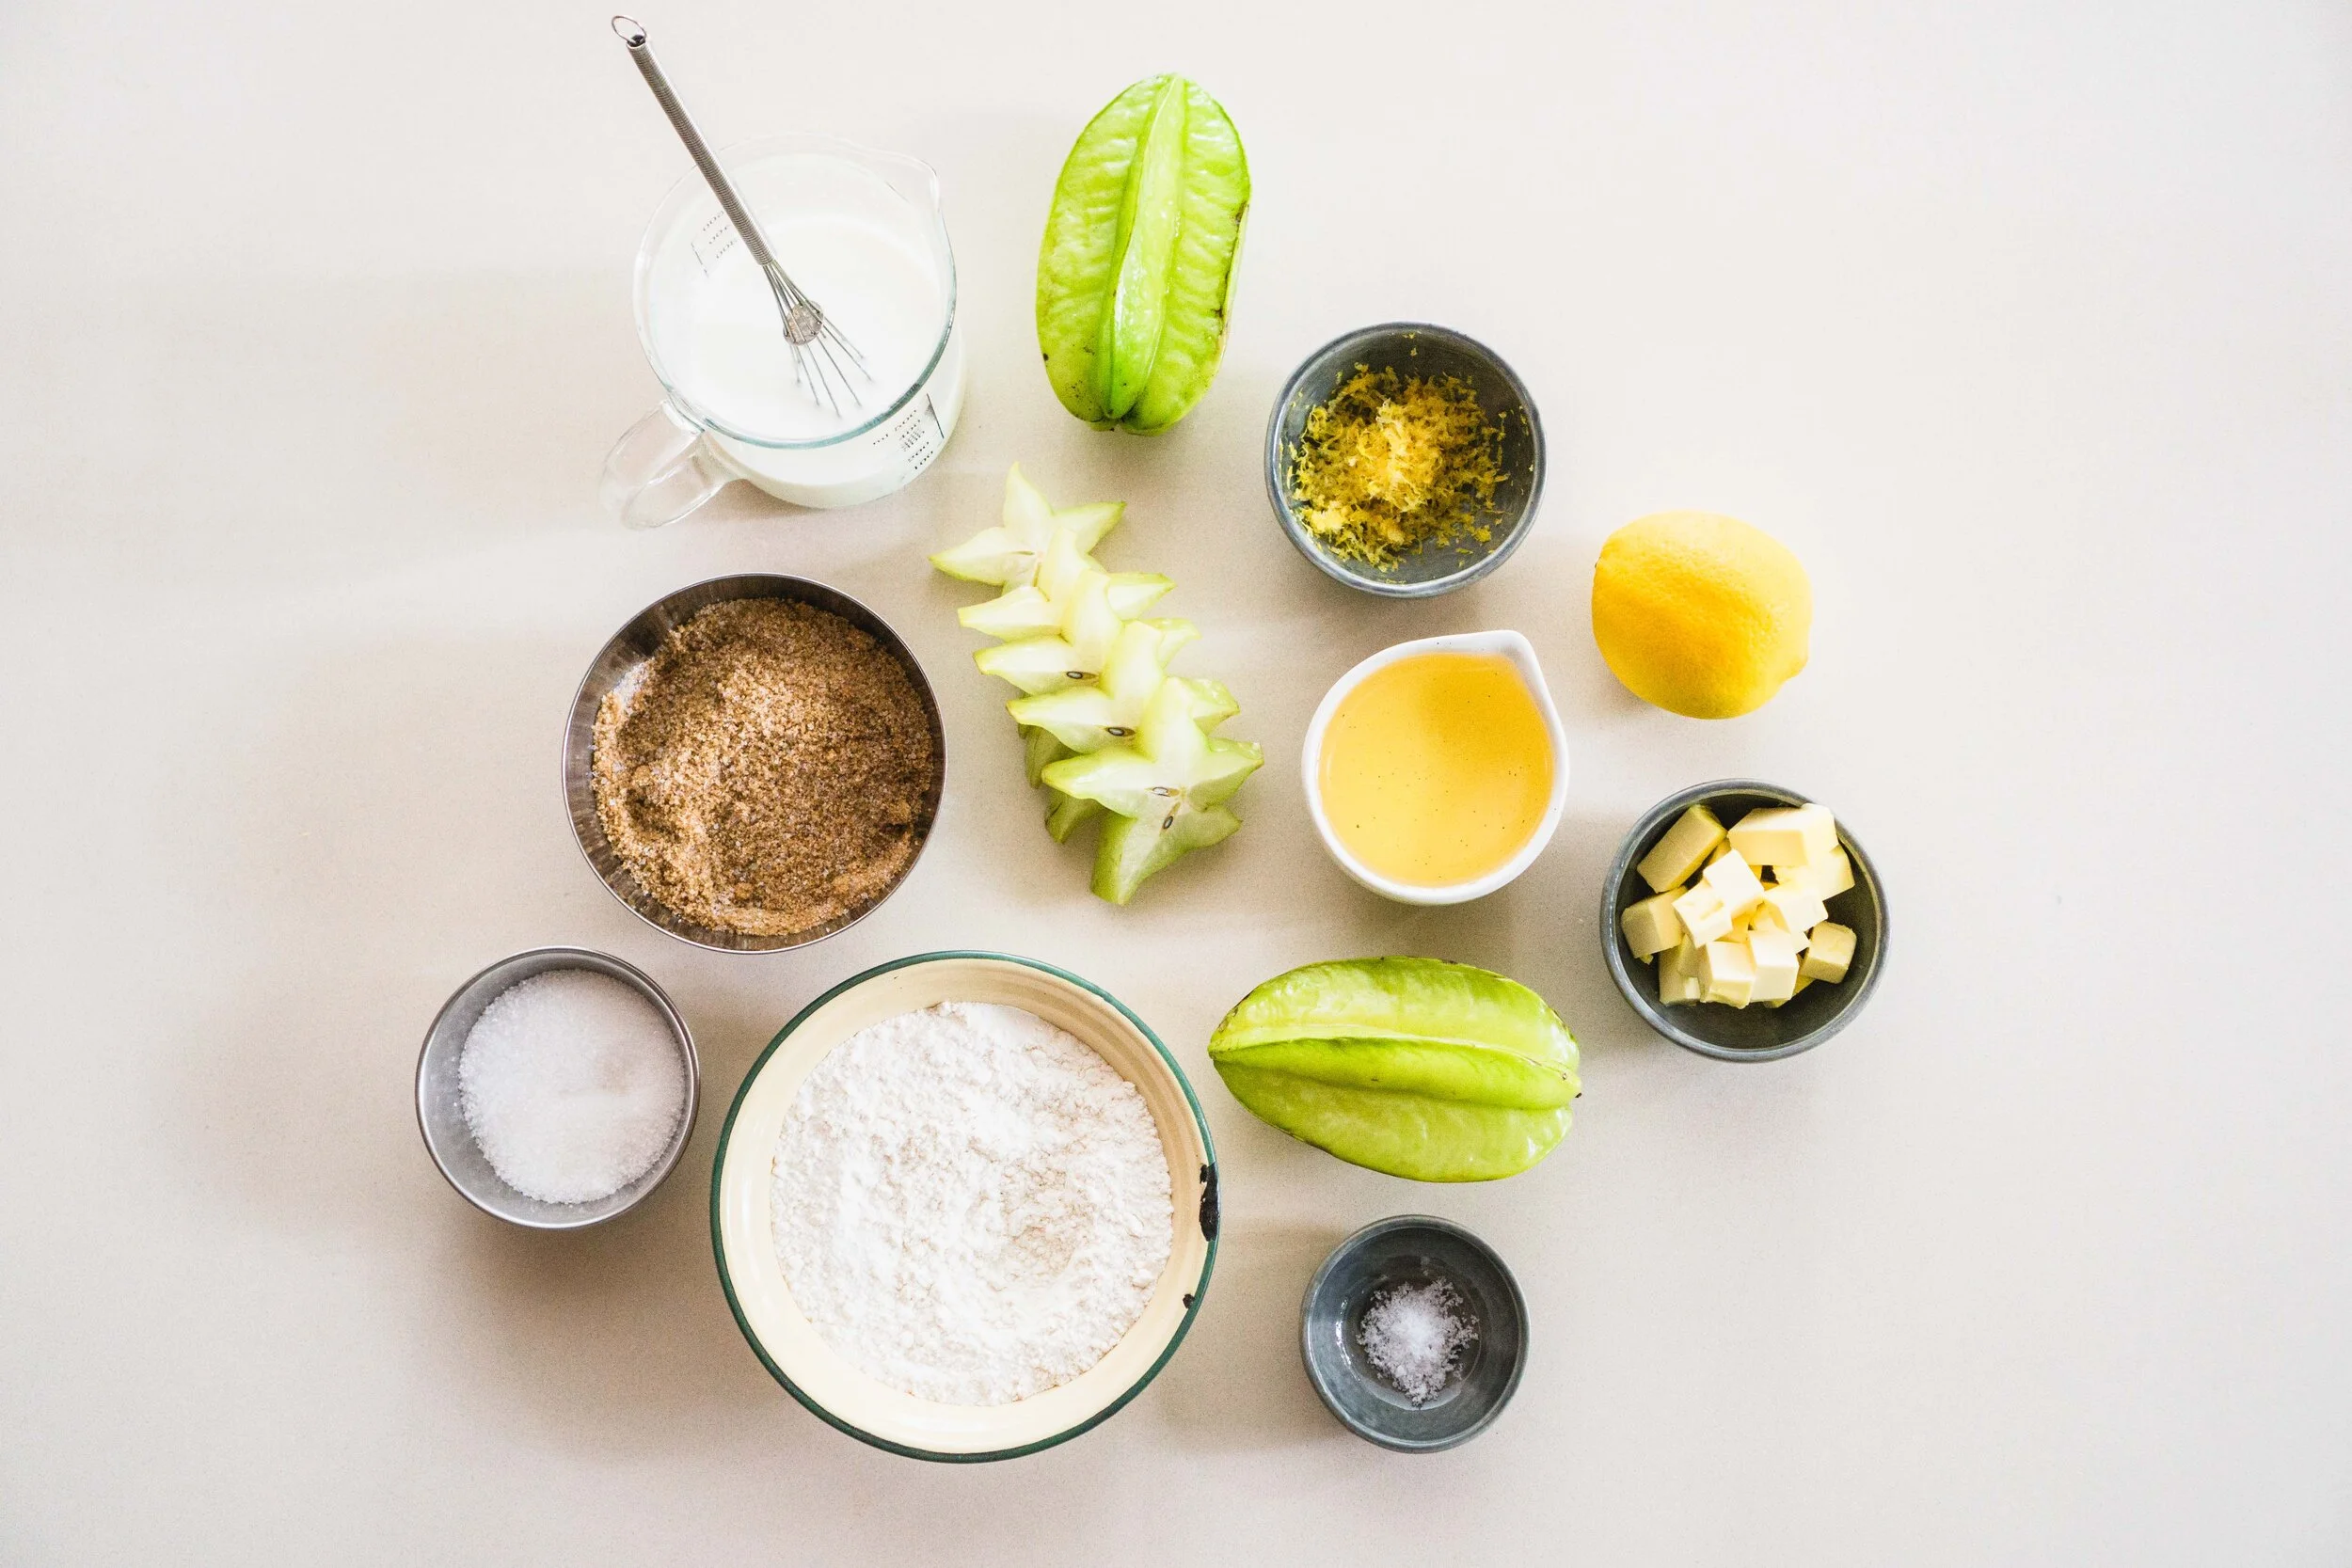
Ingredients
2 starfruits
80g caster or granulated sugar
60g butter, cut into small cubes
Batter
180g all-purpose flour
2 tsp baking powder
1 tsp salt
230ml buttermilk (I used 200ml milk + the juice of 1 lemon)
2 eggs
110g oil
100g brown sugar
50g caster sugar
Zest of 1 lemon
1 teaspoon vanilla extract
Directions
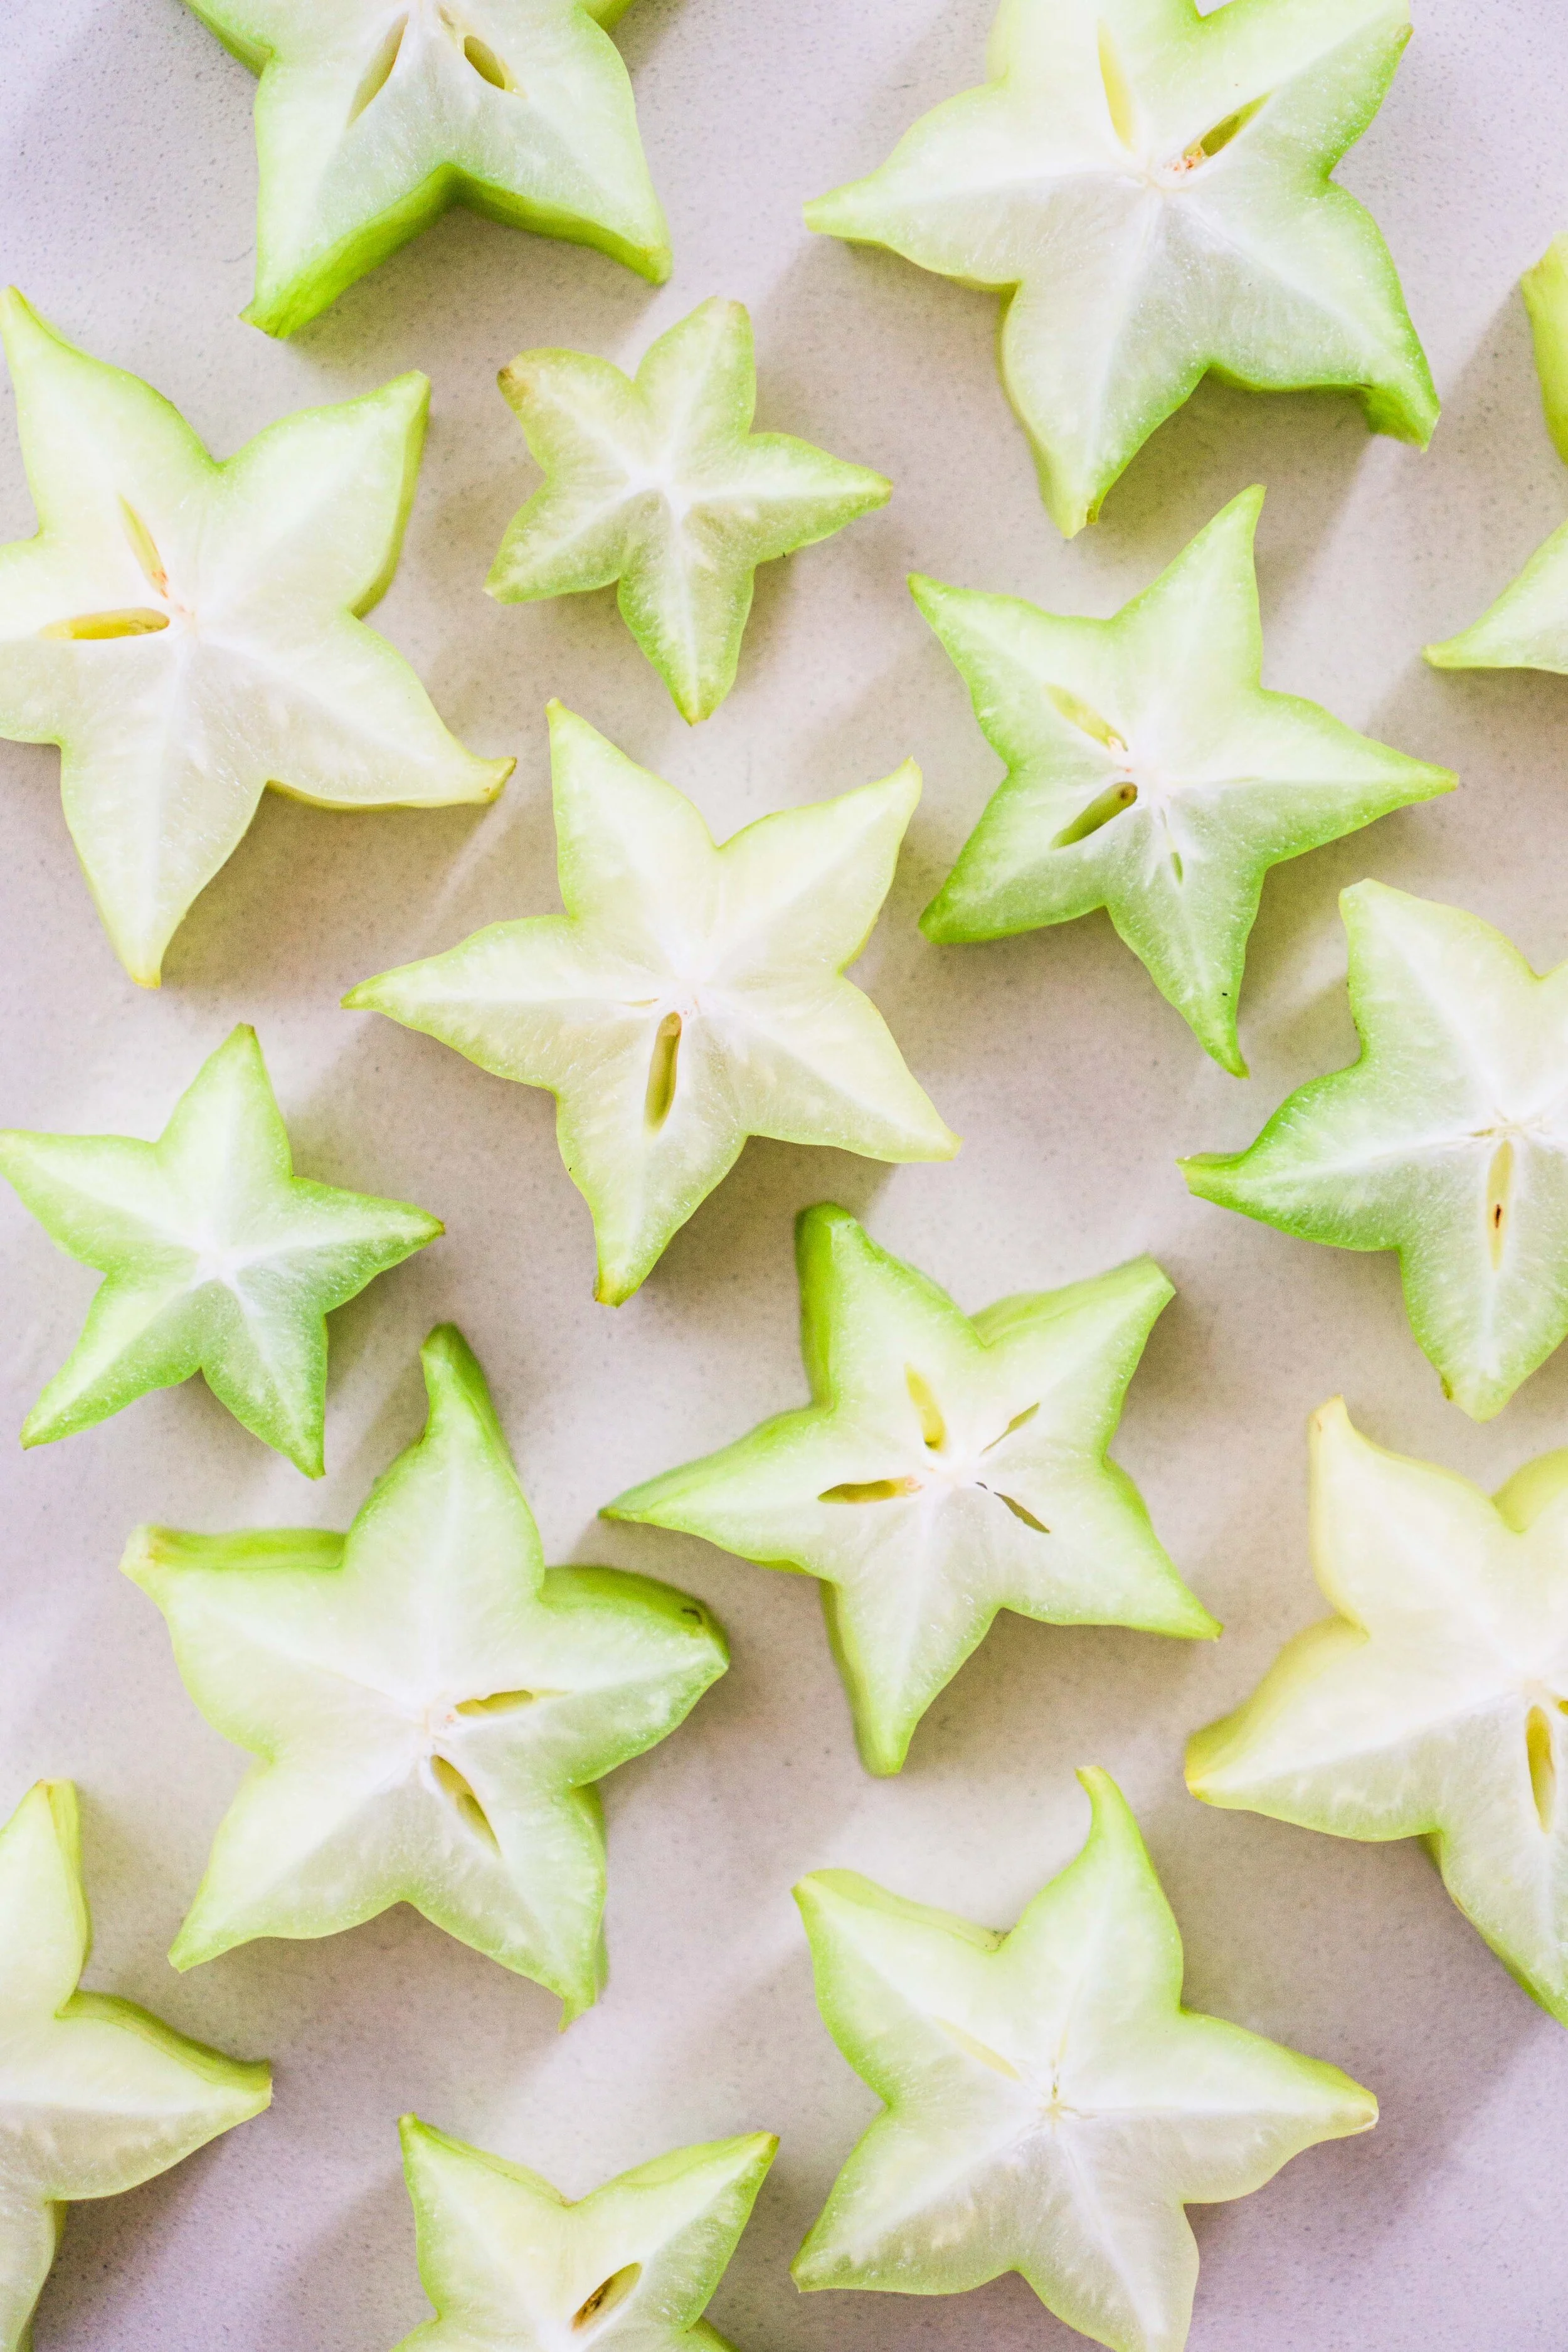
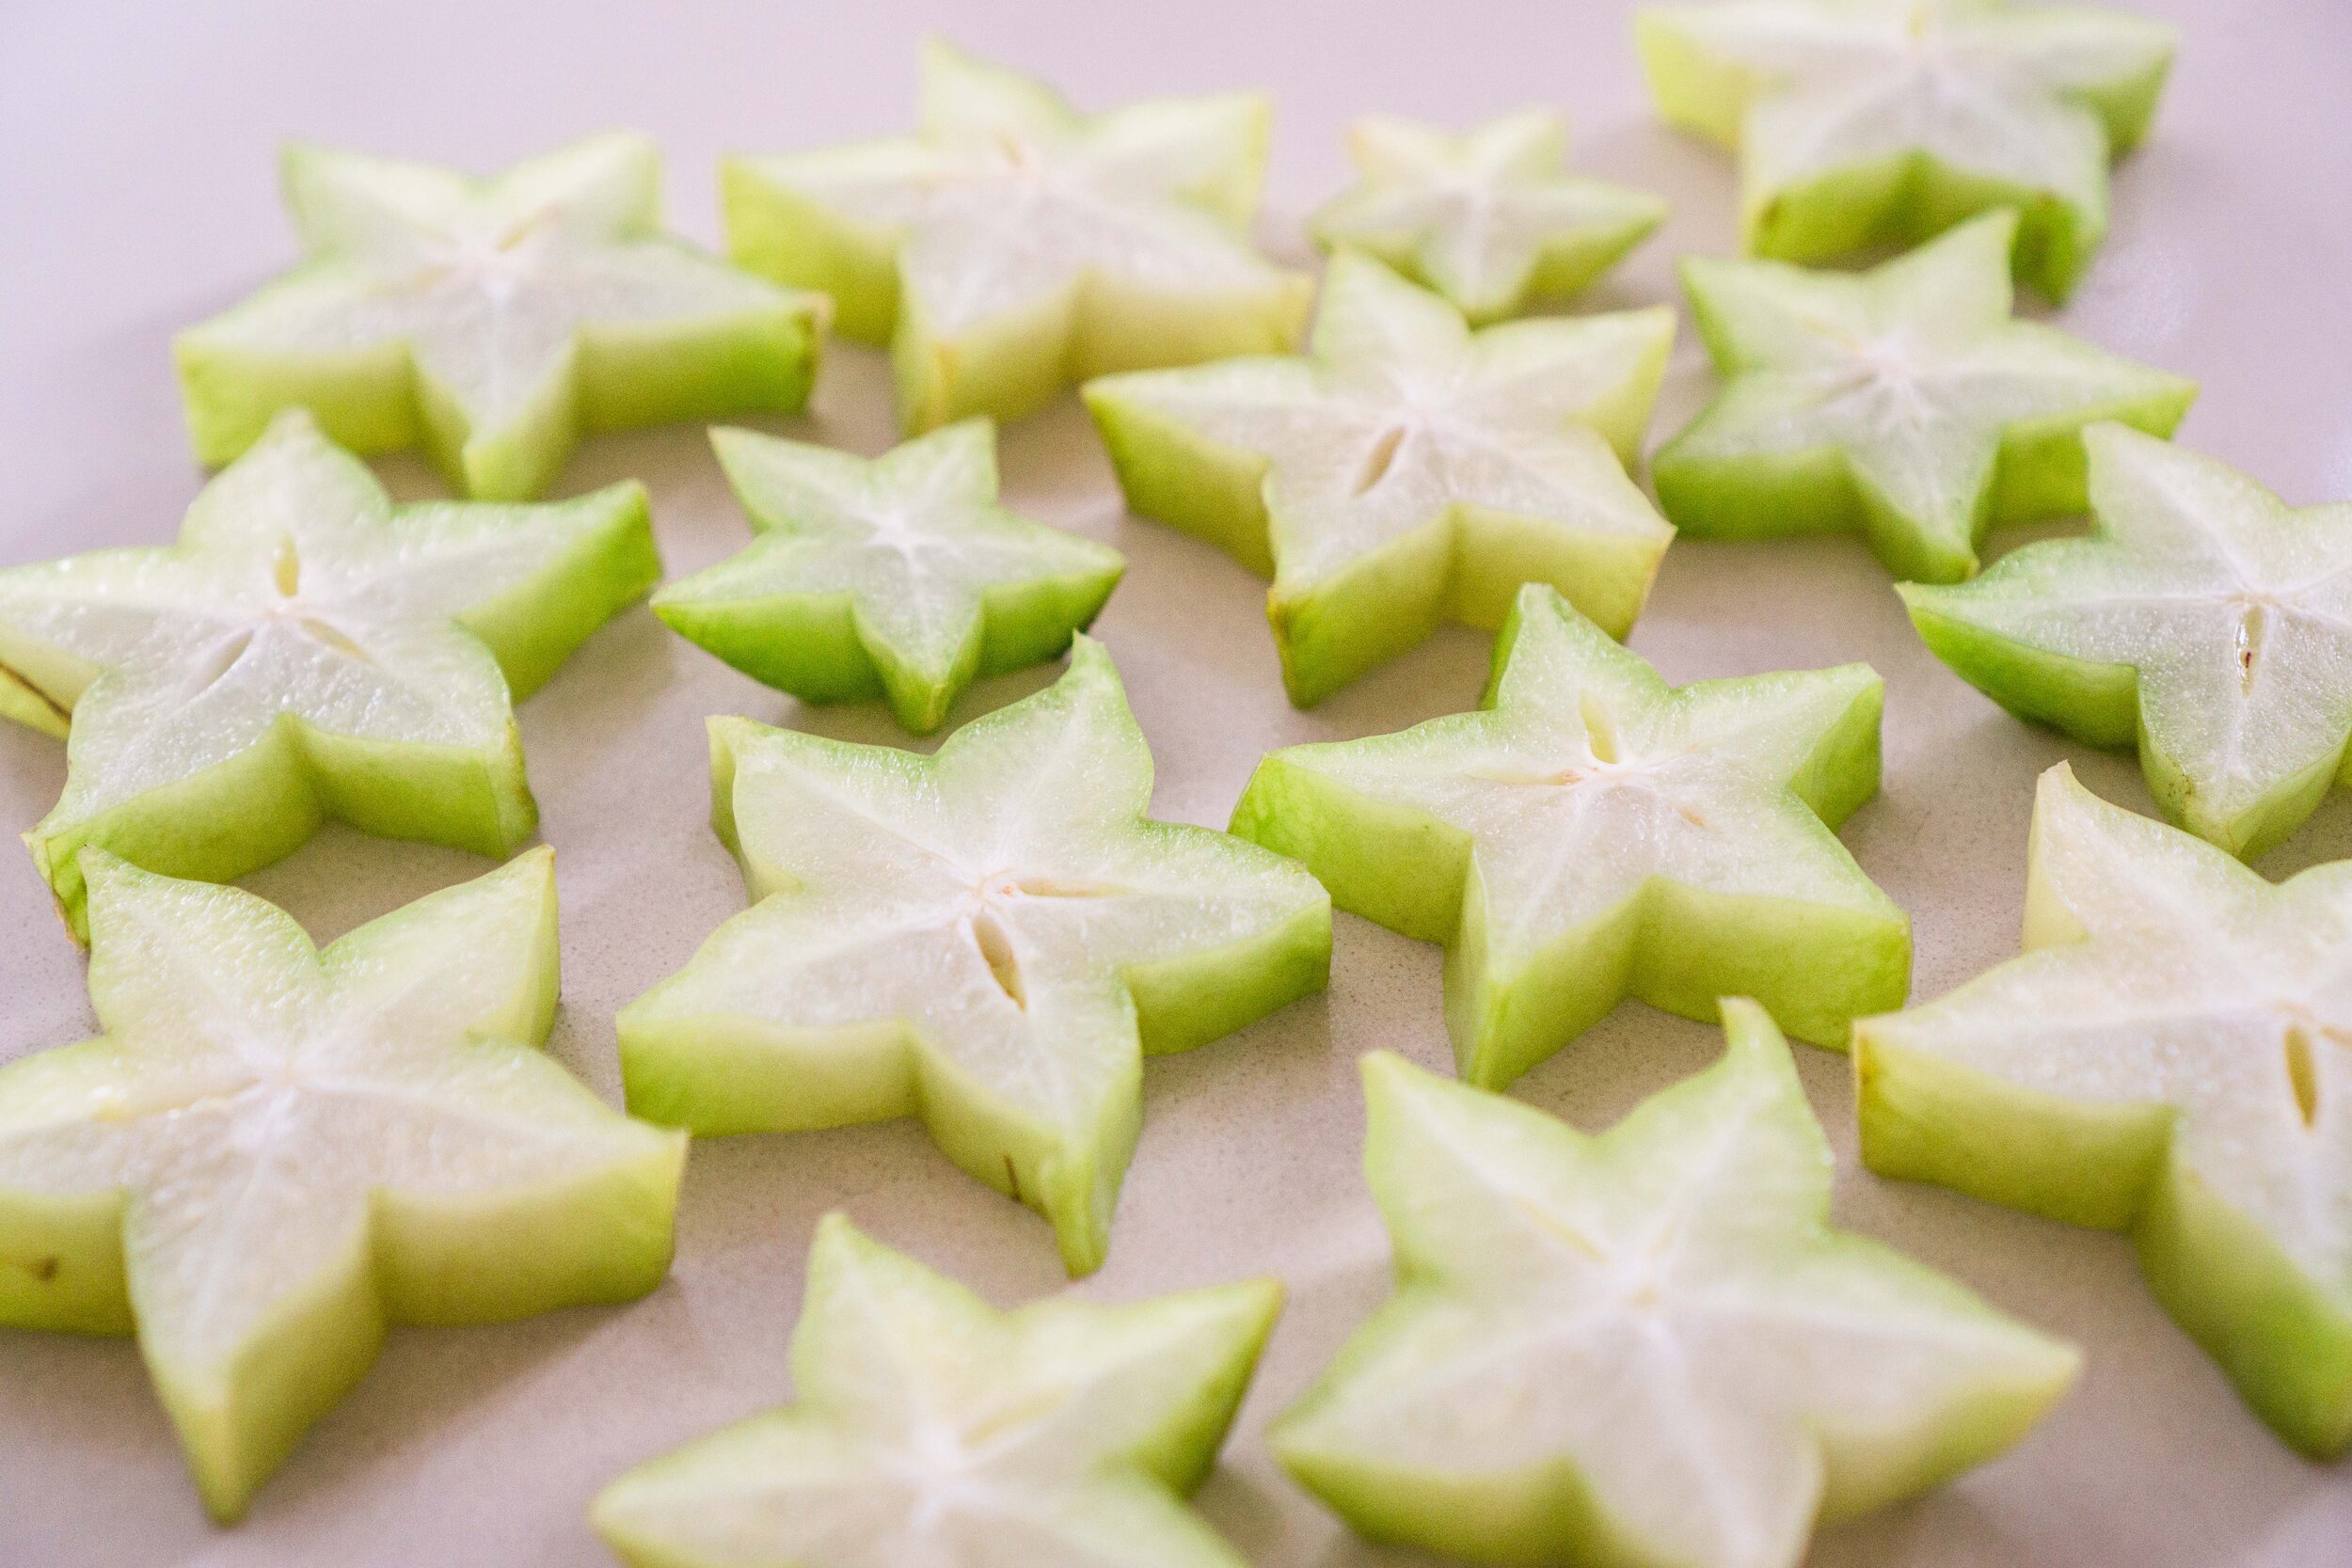
Starfruit: Slice the starfruits into ½-inch thick slices, pick out the seeds, then set them aside for the moment. (Use a toothpick or skewer if they’re too small to pick out by hand.)
Caramel: Ready a 15-20-inch pan that you’re gonna bake the cake in, and pour the sugar into the pan. Heat it over medium heat for 3-5 minutes, swirling it around until it melts and browns into a deep, dark—not burnt—caramel. When the caramel has good colour, gently place in a couple of cubes of butter. It’ll start to sputter in the beginning—this is normal—but keep adding more butter, swirling the pan as you go to incorporate the caramel with the butter. Then, add in the starfruit slices and place the pan over low heat, letting the starfruit saute in the caramel for 3-5 minutes on each side.
Preheat: Turn on your oven and heat it to 180°C.
Batter: Mix the flour, baking powder, and salt in a bowl. Then, in a separate bowl, combine the butter milk (or milk and lemon juice), eggs, oil, caster and brown sugar, lemon zest, and vanilla extract. Combine the wet ingredients into the dry ingredients, then whisk it well to totally incorporate the ingredients.
Bake: Arrange the starfruits in a single layer in the pan, then pour the batter over the caramelising starfruit. Transfer the pan into the oven and bake for 40-45 minutes, until well-browned on top, and when a cake tester poked into the middle of cake comes out clean. When done, remove the cake from the oven and let it rest on a cooling rack for 5 minutes. Then, run a paring knife or spatula along the sides of the pan to make sure the edges of the cake aren’t stuck, then flip it out onto a plate or serving tray. Let it rest for a further 15 minutes before cutting into the cake.
Serve: Cut the cake into 6 or 8 slices—or 7, or even 11, if you like a challenge—then serve! It also goes great with a little whipped cream or vanilla ice cream.