
Pineapple Beer (Tepache!)
Guess what, I’m finally living up to my blog name, because... I made alcohol!
Granted, it’s neither gin nor cocktail (as the blog name riffed off), but a mild, pleasantly sweet pineapple beer, based off & inspired by Mexican tepache. Now there's three things you should probably know about me
I don't actually like the taste of beer
I'm terrible at following rules and nomenclature, so calling this 'beer' might be incorrect. Though it does look and taste like beer, and
Like many Asians, I'm terrible at handling my alcohol. (Two glasses of wine can get me lobster-red; Ugh, silly Asian flush.)
So you might be wondering - what inclined me to make this pineapple beer in the first place!?
The answer? Brad Leone.
Words can't describe how much of a fan I am of this goofy man-child. His fermentation series on YouTube is food entertainment at its best, and his laid-back approach to food and cooking (and the addition of lotsa silly, low-budget graphics) strangely makes his videos all the more endearing. Plus, I'm a sucker for anything to do with food, education and entertainment, so I was hooked from episode one (that kombucha spill though, classic Brad).
So okay, back to alcohol. There's a video in Brad's series where he makes tepache. Not only did it involve some very funky, active bacterial fermentation (a topic I'm very prone to geeking out to), he also made the whole process look so simple and gratifying to make - mash up some pineapples, spices, and sugar water, put it aside for a few days, strain, bottle it, and you got pineapple beer! I was sold.
For my take on tepache, I followed his recipe 80% of the way, making one crucial change. A traditional Mexican tepache commonly uses piloncillo as a sweetener. It's a deep, dark, cane sugar that has all kinds of caramel and honeyed notes. Brad's recipe replaced this with turbinado/brown sugar, presumably because piloncillo is hard to come by in the US. In Malaysia, piloncillo is next to impossible to find, but there’s a similar (and dare I say superior) alternative – gula melaka! (All the Malaysians reading this probably saw this coming, but hey I am a very basic Malaysian bij okay.) If you've seen my recipes, you’ll know that I LOVE working gula melaka into everything. (See here and here and here for proof.) But if you've never heard of gula melaka, it’s a dark, unrefined coconut palm sugar which is all kinds of fragrant and complex and wonderful; The nectar of the Malaysian dessert gods, essentially.
So I added gula melaka into my pineapple beer, and I have to say, it turned out really well! Though the flavour of gula melaka didn't really come through (makes sense because all the sugars would have been converted to alcohol & CO2 by the bacteria), I'd like to think it had something to do with the success of my first-ever homebrew. If you're not a fan of gula melaka though (sorry but we cannot be friends), regular brown sugar would work fine too.
As with many fermented foods, tepache can be very temperamental. Depending on where you live, the temperature and humidity of your surroundings, how much sunlight you get, even how much you breathe on it (because as icky as it is to hear, there's bacteria in your breath), your tepache will end up tasting very different, even if you used the same recipe.
After the success of my first batch, I made tepache once more, keeping the overall recipe the same, with the only change being the type of pineapple I used. In the first batch, I used a Josephine pineapple, and for the second, I got a generic, unnamed one from a dodgy fruit stall near my house. And guess what, they turned out wildly different! The sweeter, juicier Josephine pineapple made a super fizzy, fruity, pale-ale-like tepache, and the mystery pineapple made a tannic, disappointingly flat tepache, more like IPA if you were to make a beer comparison, but without much fizz and fun.
I much prefer the first one I made, but y'know, we all have different palates and taste preferences, so you might very well prefer the tannic tepache! Unfortunately when it comes to fermentation however, it's hard to get a surefire recipe that works every time, anywhere in the world, due to the variables mentioned above. So the only way to end up with a tepache you like is to engage in some good ol' trial and error, tuning the recipe to your specific environment. You can start off with the recipe below, but more importantly, try experimenting with the variables to make a tepache you really like! (Change up the fermentation length and temperature, use different pineapple varieties, add some chilies or spieces etc..) Don't be discouraged if you don't initially get what you're looking for though. After all, it's the testing and learning from mistakes that makes cooking (fermentation especially) truly fulfilling. So experiment away, young padawan. Chin-chin! 🍻


- - -
Pineapple Beer (a.k.a. Tepache)
makes a little more than 2 litres of tepache, roughly equal to 4 UK pints
Ingredients
1 medium/large pineapple, de-skinned, cut into 1-inch (2-3cm) chunks (you can leave the eyes on)
200g light brown sugar
200g gula melaka (coconut palm sugar), can be substituted with any brown sugar (dark or light)
1 thumb-sized knob of ginger
1 cinnamon stick
3 cloves
2 litres of water (‘wourder’ if you’re Brad), possibly more
Directions
Place the gula melaka, brown sugar, and about 500ml (roughly 2 cups) of water in a small pot, and heat to dissolve the sugar.
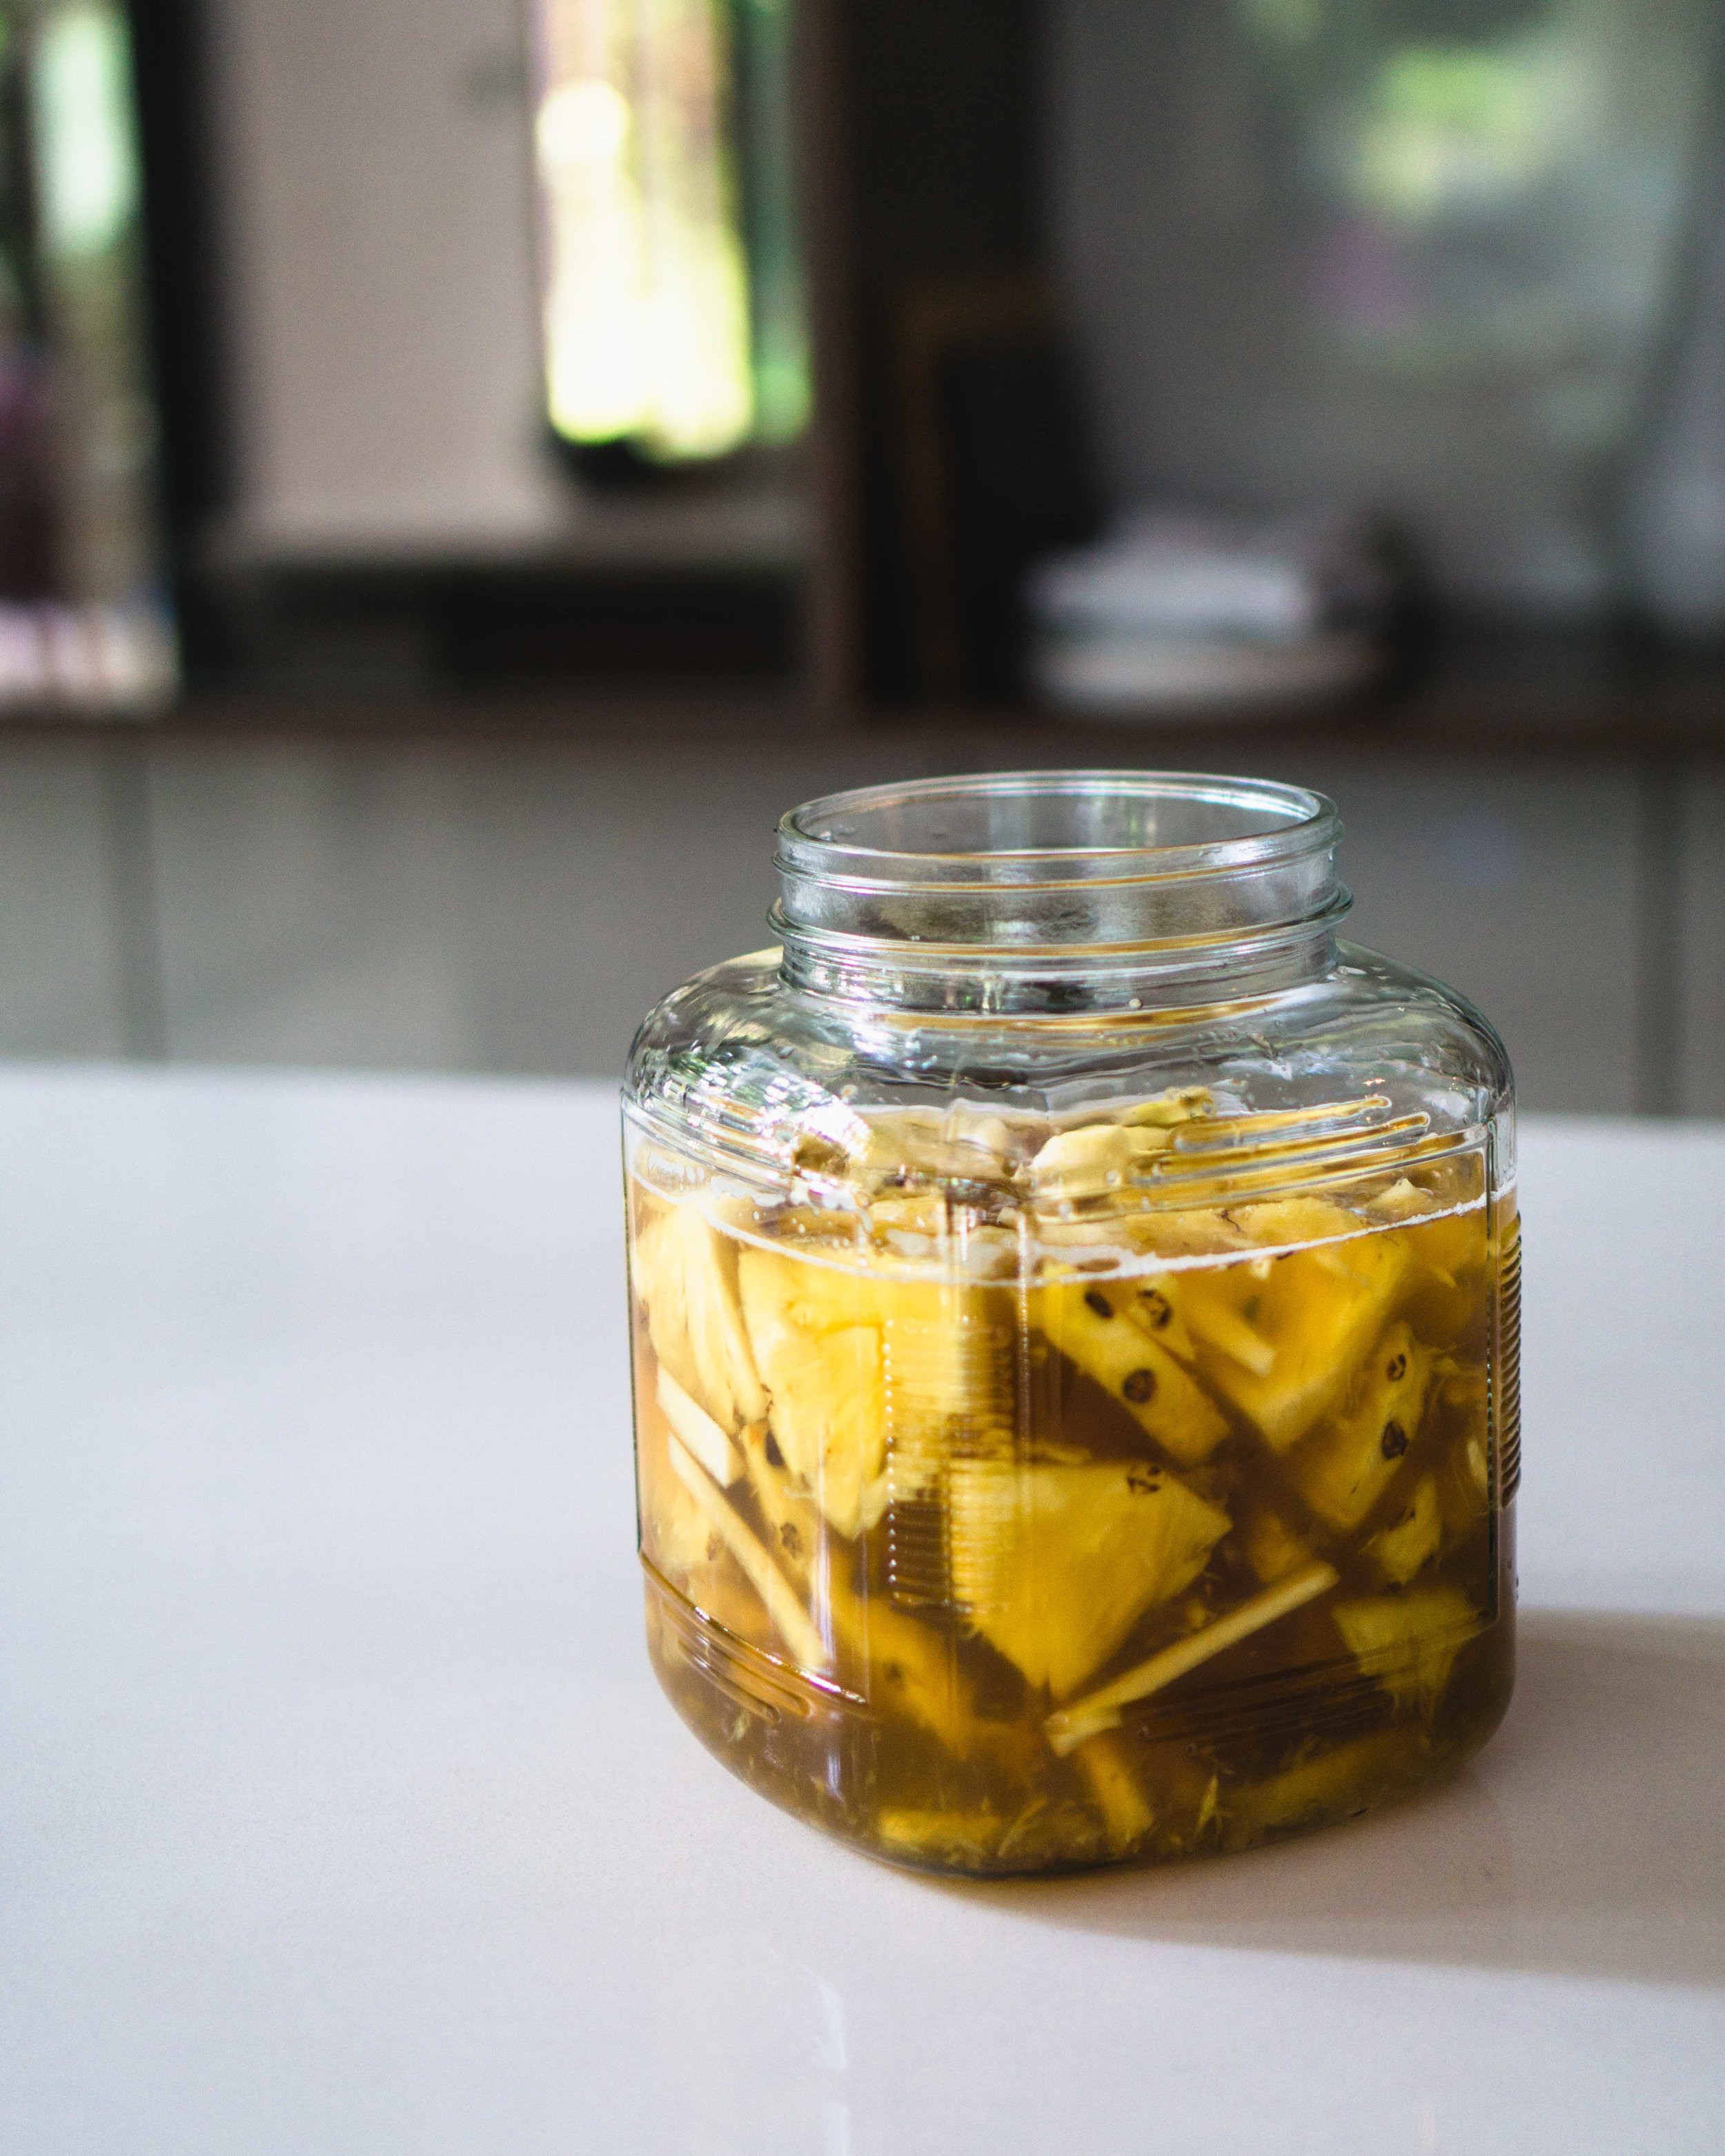
Then, in a large jar or container, combine the pineapple, sugar syrup, cinnamon, and cloves. Mash up the pineapples using a potato masher or a kraut pounder (or any other blunt kitchen instrument you can find, really). Then add the rest of the water into the jar. Make sure the pineapples are fully submerged; Add more water if they're not. Give it a quick stir, then cover tightly. Set aside in a cool, dark place for 2-4 days. (20-25°C would be ideal.) When done, it should be a little fizzy, and smells slightly floral and yeasty. Taste it, and if it isn’t funky or fizzy enough, let it ferment for another day or two.
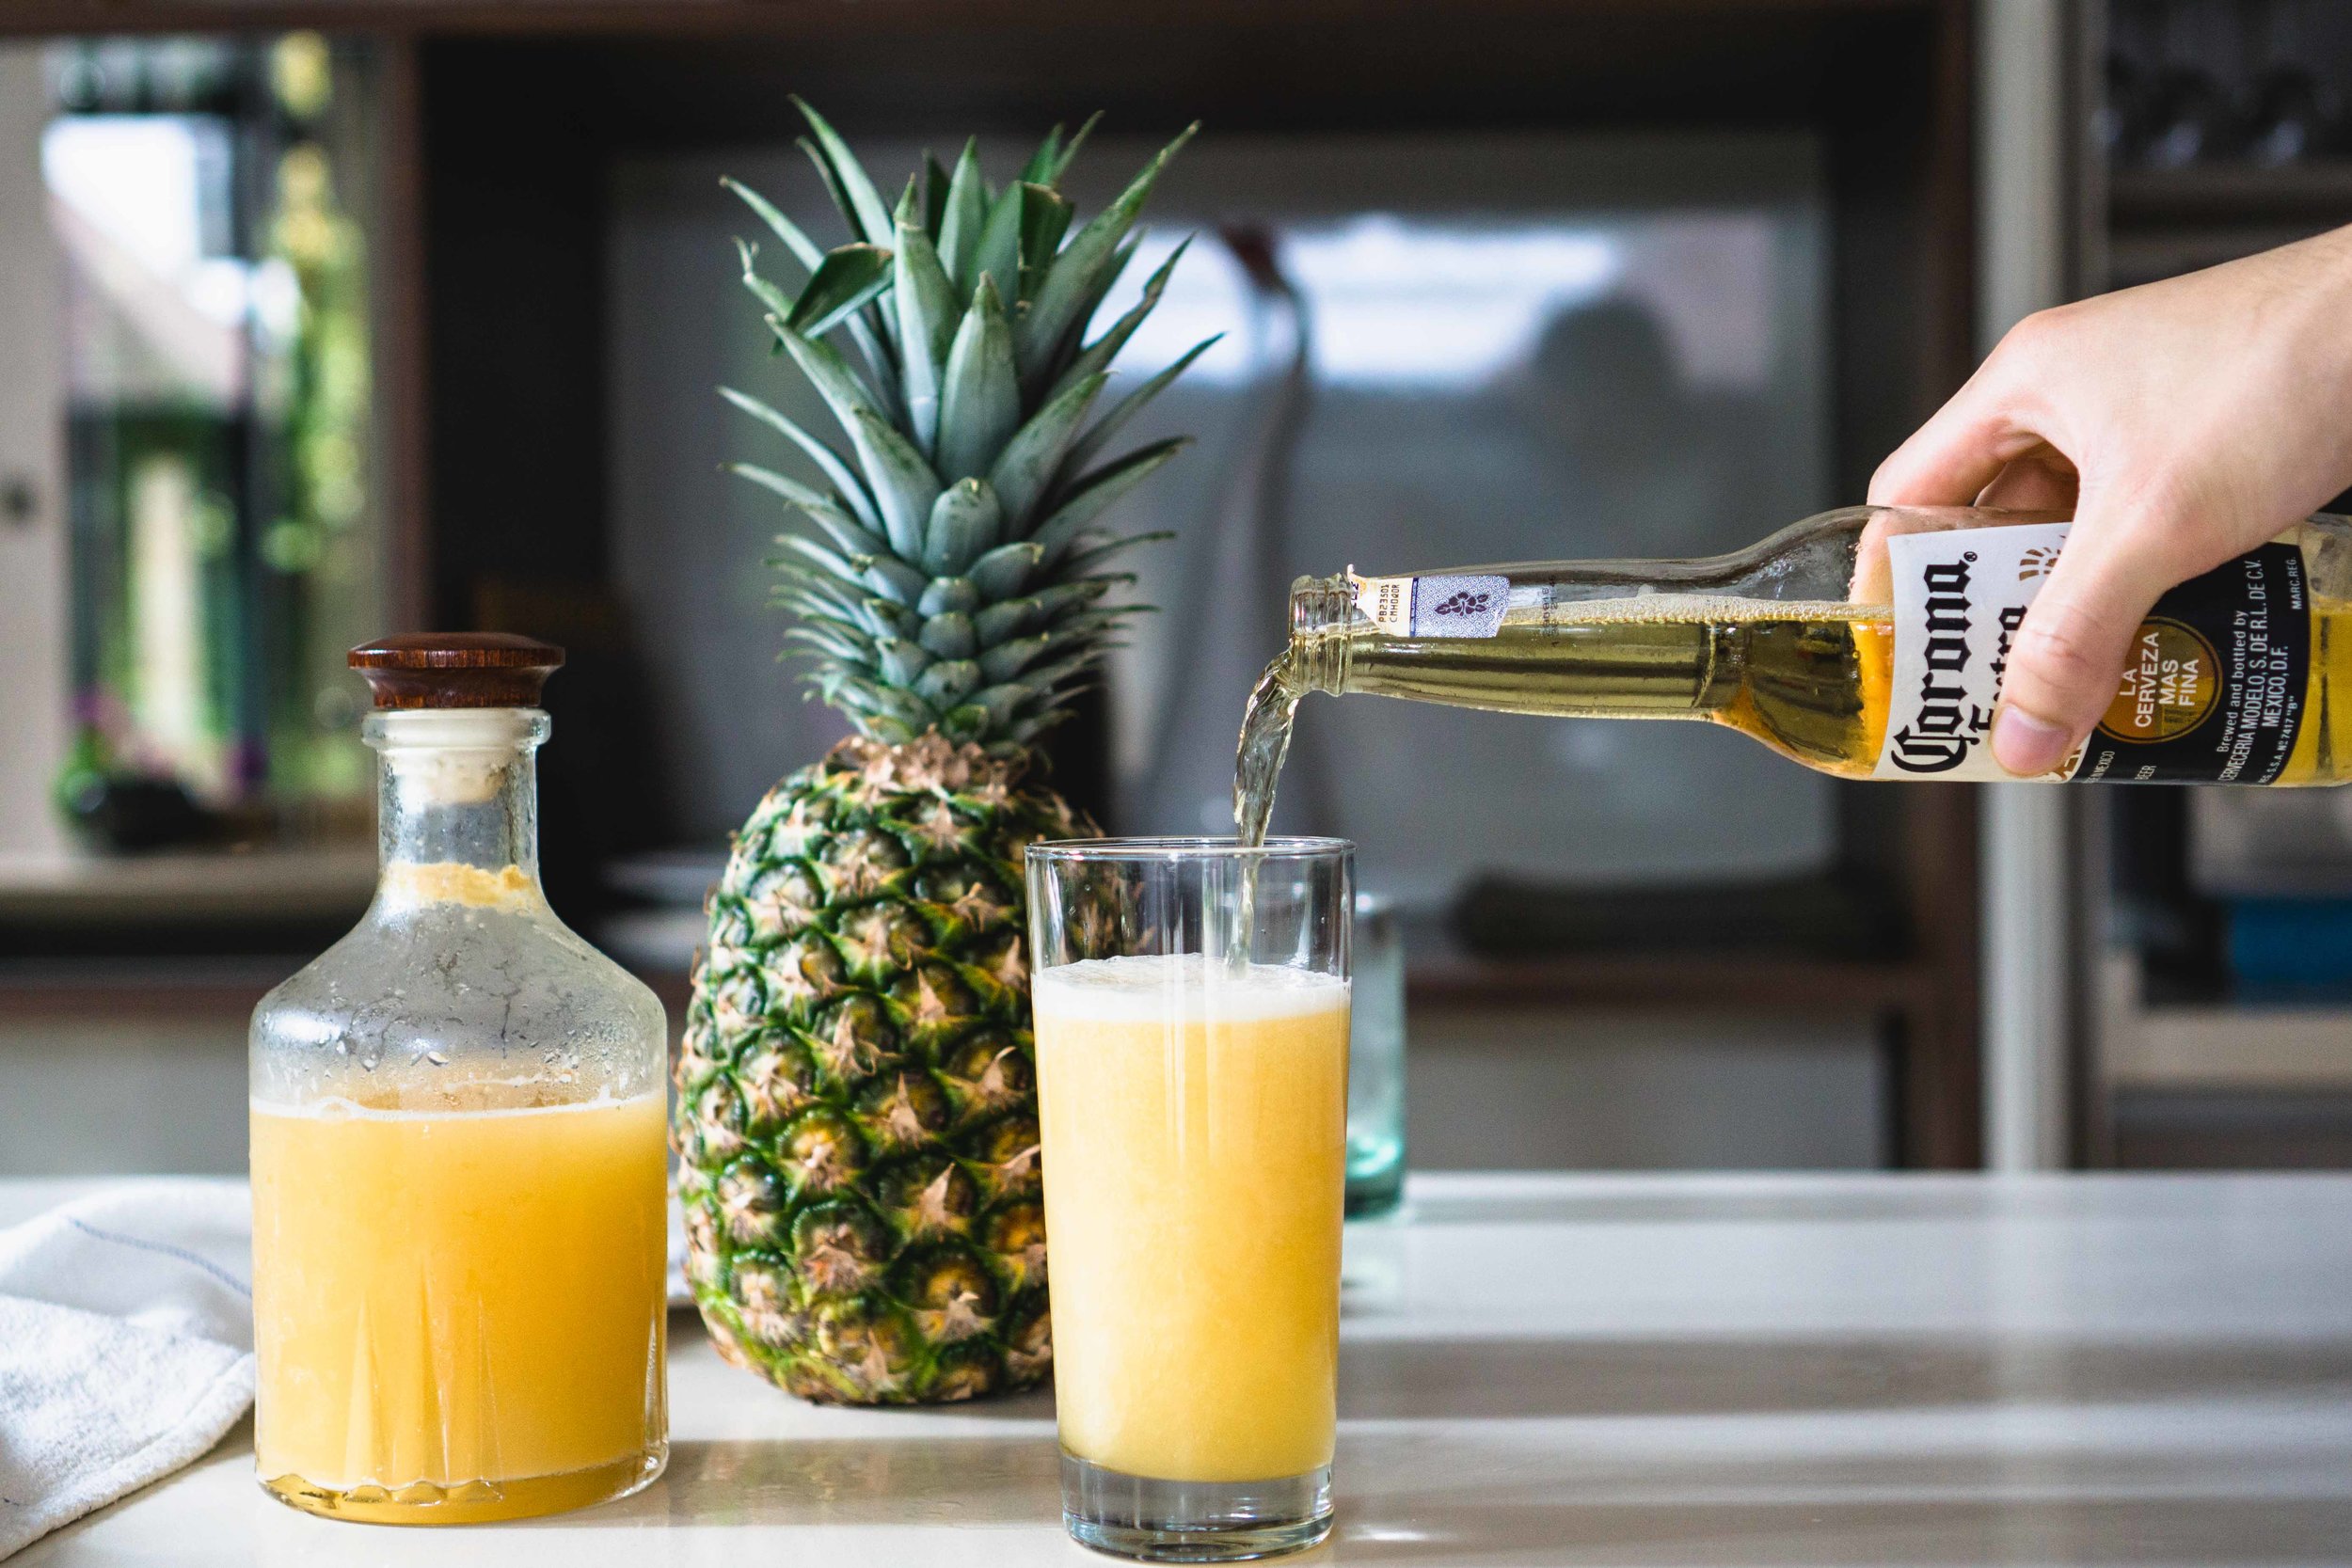
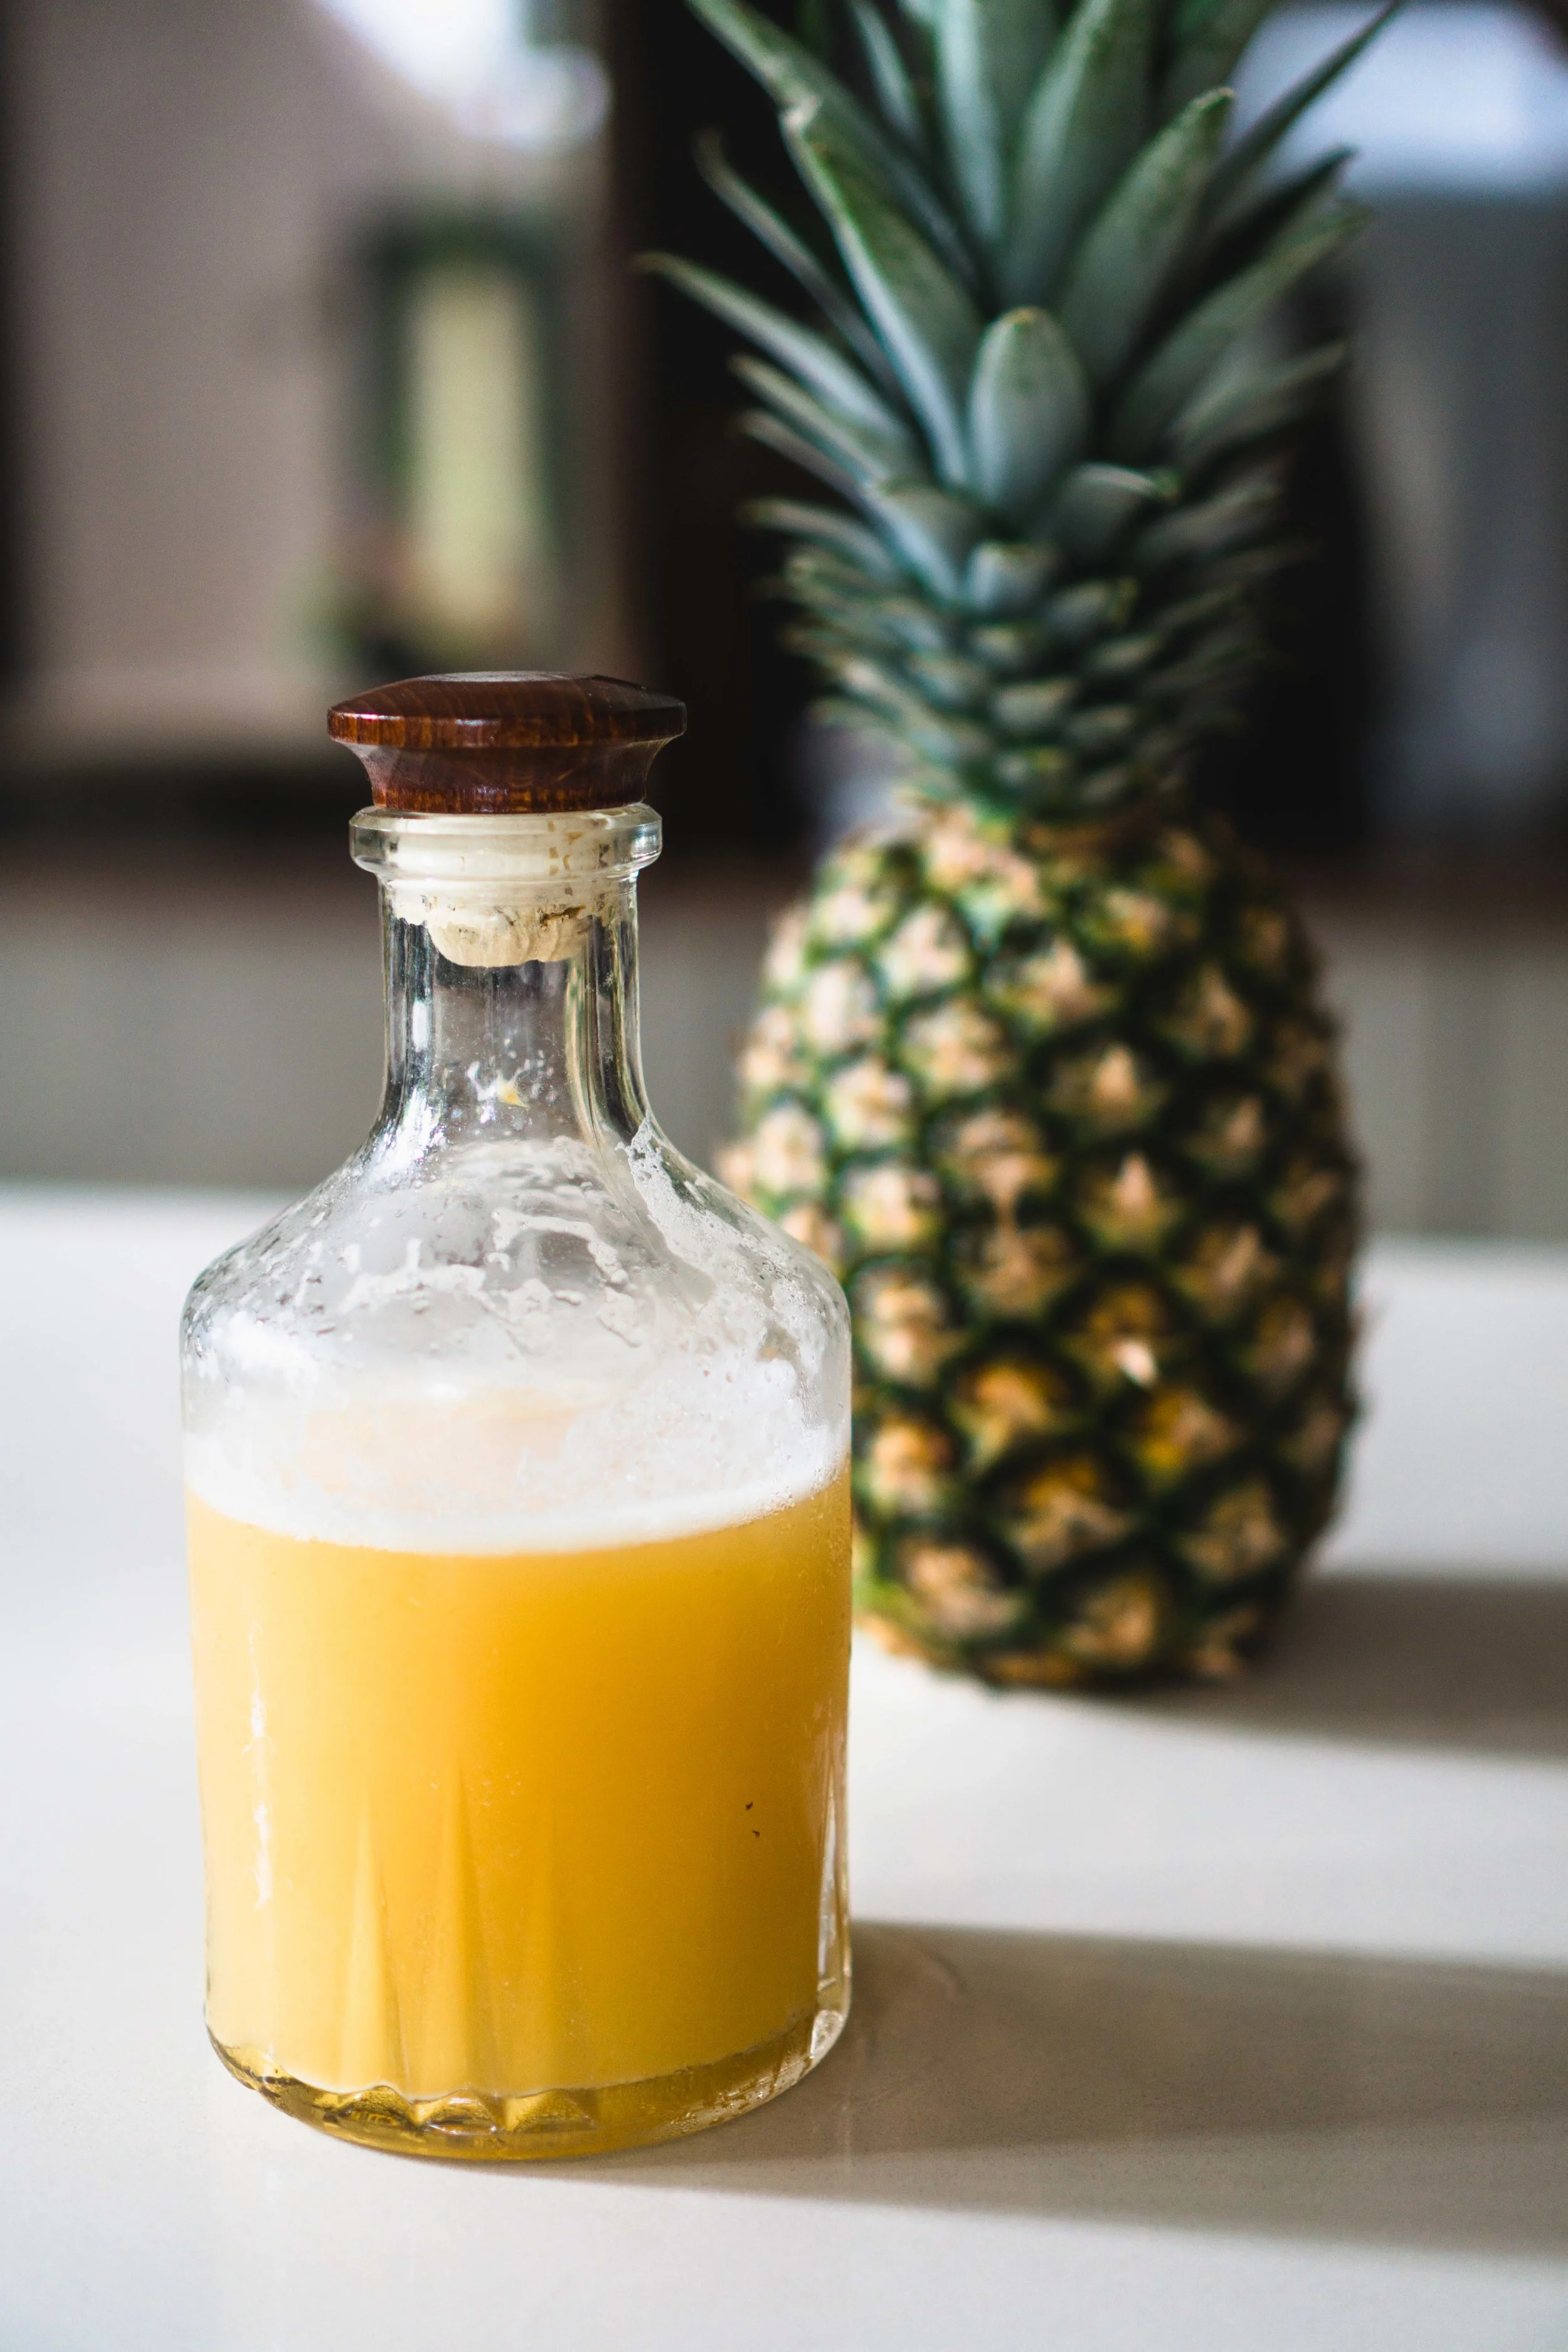
Once done, strain the mixture through a cheesecloth, or an extremely fine mesh strainer, into fermentation grade, pressure-resistant bottles. (Wine/champagne bottles works great too!) Cover tightly with a lid, and leave it out at room temperature overnight to let it develop more bubbles, then refrigerate until chilled before drinking.
Drink it on it’s own, or mix it with some beer for a extra fun time!
Fermentation Tips
Like all home-made fermented products, you want to be careful as there’s a chance that bad bacteria could grow. So if you see some fuzzy, colourful mould growing, it's probably best to toss it out.
Sometimes a thin white film with some bubbles trapped in it will form, as it did for my first batch. This should be okay! (I'm not dead... yet.)
The key to preventing bad bacteria from growing is to make sure that everything you're using is super clean, from your fermentation jar to the masher to your hands. Some recipes suggest sterilising all your equipment, but I feel this is a bit of a chore, so I just make sure to wash everything pretty cleanly and hope for the best. Worked for me so far!
More importantly though, a better indicator of whether your ferment has gone off is to use your senses! Give it a smell (maybe a taste if you like living on the edge), and if it's offputting / a bit too funky for your liking, throwing it out is probably your best bet.