
D.I.Y. "Pink Salt"

Did you know you could make your own salt crystals at home, at a fraction of the price of those expensive, fancy sea salt flakes!? I didn't!
But after stumbling upon some salt-making videos, and on a separate occasion, this ChefSteps recipe, I wanted to try making my own salt at home. By of course, I wasn't just happy with making regular salt, so I tainted them with some beetroot juice to make faux-pink salt, which turned out pretty well! Sure, it's doesn't have the purported health benefits of actual Himalayan pink salt, nor the provenence of famous sea salts like Maldon or Guerande, but in terms of aesthetics, this can rival any fancy finishing salts, and is also much less of a burden on your wallet!
Plus, since it has been awhile since we talked about anything science-y on this blog, this proved to be an opportune moment to indulge my inner geek (and yours too) with some good-old science! 🤓

Where does salt come form?
The salt we consume comes from two main sources – seawater, and salt deposits in the earth, left behind by ancient seas and lakes that have dried up. As a kid, if you’ve ever had an accidental gulp of seawater from swimming in the sea, you’ll remember that it tastes preeety salty. In reality though, the concentration of salt in seawater is on average just 3.5%, meaning for every 100 mL of seawater, there’s actually only 3.5 grams of salt in it. Just goes to show how potent salt is, eh!
To extract this 3.5% of salt, seawater is traditionally pumped into large ponds and left to dry out under the sun. There are still many places that processes salt in this manner, like around the Dead Sea in Israel and Jordan, and in Guerande where fleur de sel de Guerande comes from. But in places where this wouldn’t be feasible (mostly due to frigid temperatures and/or frequent rainfall), salt is often obtained through more industrial means, where salt water is first boiled vigorously, then the salt is forcefully crytallised out of the water, then centrifuged to dry it out. The whole process takes just a few hours.
Regular cheapo salt vs. expensive salt flakes
If you remember from your secondary/middle school chemistry classes, the chemical formula for salt is sodium chloride (NaCl). This chemical composition allows it to form a lattice structure. So if you put regular fine table salt under a microscope, you should be able to see that the little salt crystals are in fact near-perfect little cubes. These are usually very pure salt manufactured under highly-controlled factory environments.
On the flipside, I’m sure we've all encountered those expensvie salt flakes that comes in different shapes and sizes. From ones that look like little Egyptian pyramids (characteristic of Maldon salt), to snowflake-like dendrictic salt, to little Machu Picchu lookalikes, salt flakes can take on vastly different structures. The shape of the salt crystals depends on several factors - the evaporation rate, the processing method, the composition of the trace amount of minerals found in it etc. etc.. At Jacobsen Salt Co. in the US, for instance, seawater is collected and boiled slightly to increase its salinity and remove impurities, and then fed into large open vats to slowly evaporate over 3-4 days. In this case, the salt is left to naturally form on top of the water, allowing them to coalesce into larger, pyramidal flakes, as opposed to the rapidly formed, tiny, cubical table salt.
Pink salt?
Aside from the usual sodium and chlorine atoms that we know as table salt, there are other minerals and elements that often exist together with these Na and Cl atoms. In Himalayan pink salt (which technically isn't from the Himalayas), there's a decent amount (roughly 2%) of foreign minerals like calcium, magnesium, and potassium in it, which gives the salt its characteristic pink hue. Depending on the mineral content, salt can also take on different colours. In black salt / kala namak for instance, the trace amounts of iron sulphide and other minerals gives it a reddish-brown hue, and in Icelandic lava salt, minerals in the lava cause the salt to be jet-black.
Salt manufacturers have also been known to manually infuse their salt with different flavours/colours. Jacobsen Salt Co. for example has dozens of different flavoured salt. From smoke salt, garlic salt, to even pinot noir salt!
---
Taking a cue from Jacobsen Salt Co., I thought it'd be pretty cool to make some infused salt flakes at home. All you really need is salt, water, a good dose of patience and a whole lotta love, and you can end up with your very own fancy-schmancy finishing salts!
The premise is simple. First, we start off with dissolving some cheapo salt in water to make a really saturated brine. The infusion can be added at this point. (I used beetroot juice for my "pink salt", but you can try using anything from garlic or chilli paste, to charcoal powder, maybe even wine!) Then, the saline solution is placed in a wide tray/pan in the oven and left to evaporate for several hours. As the water evaporates and the salinity of the brine increases, salt crystals will form on the surface of the water, which with time, will form a raft and then sink down to the bottom of the tray. All that's left to do then is to gently scoop up these beautiful salt flakes and let them dry out to get your own homemade salt!
You can use your home-made flecks of salt to top anything really. Elevate your weekday salads, pastas, soups or tartines with a good salt-bae pinch of your salt flakes. Or if you’re secretly basic like me, make some Instagram-worthy avo toast. 🕺


---
Beetroot Salt
Makes ~80g of beetroot salt
Ingredients
1 small beetroot, or 100ml of beetroot juice
400ml water
100g salt, fine, coarse or kosher all works!
Directions
- If using raw beetroot, peel and cut up the beetroot into small pieces, then blend in a blender or food processor with 100ml of water. Strain out and save the liquid. Alternatively, use a juicer to obtain the beetroot juice.
- In a small saucepan, add the rest of the water, salt, and beetroot juice. Heat this up and stir until all the salt is dissolved. If there’s a bit of salt that’s still not dissolved, add a bit more water and stir until the salt dissolves. Transfer this to a wide, oven safe pan. (Glass or ceramic works best; Try not to use aluminium / stainless steel trays, as the saline solution may react and discolour the metal.)
- Place the tray of salty beetroot liquid in an oven or dehydrator set at 70°C, and leave it to evaporate for 4 hours or longer, up to overnight.
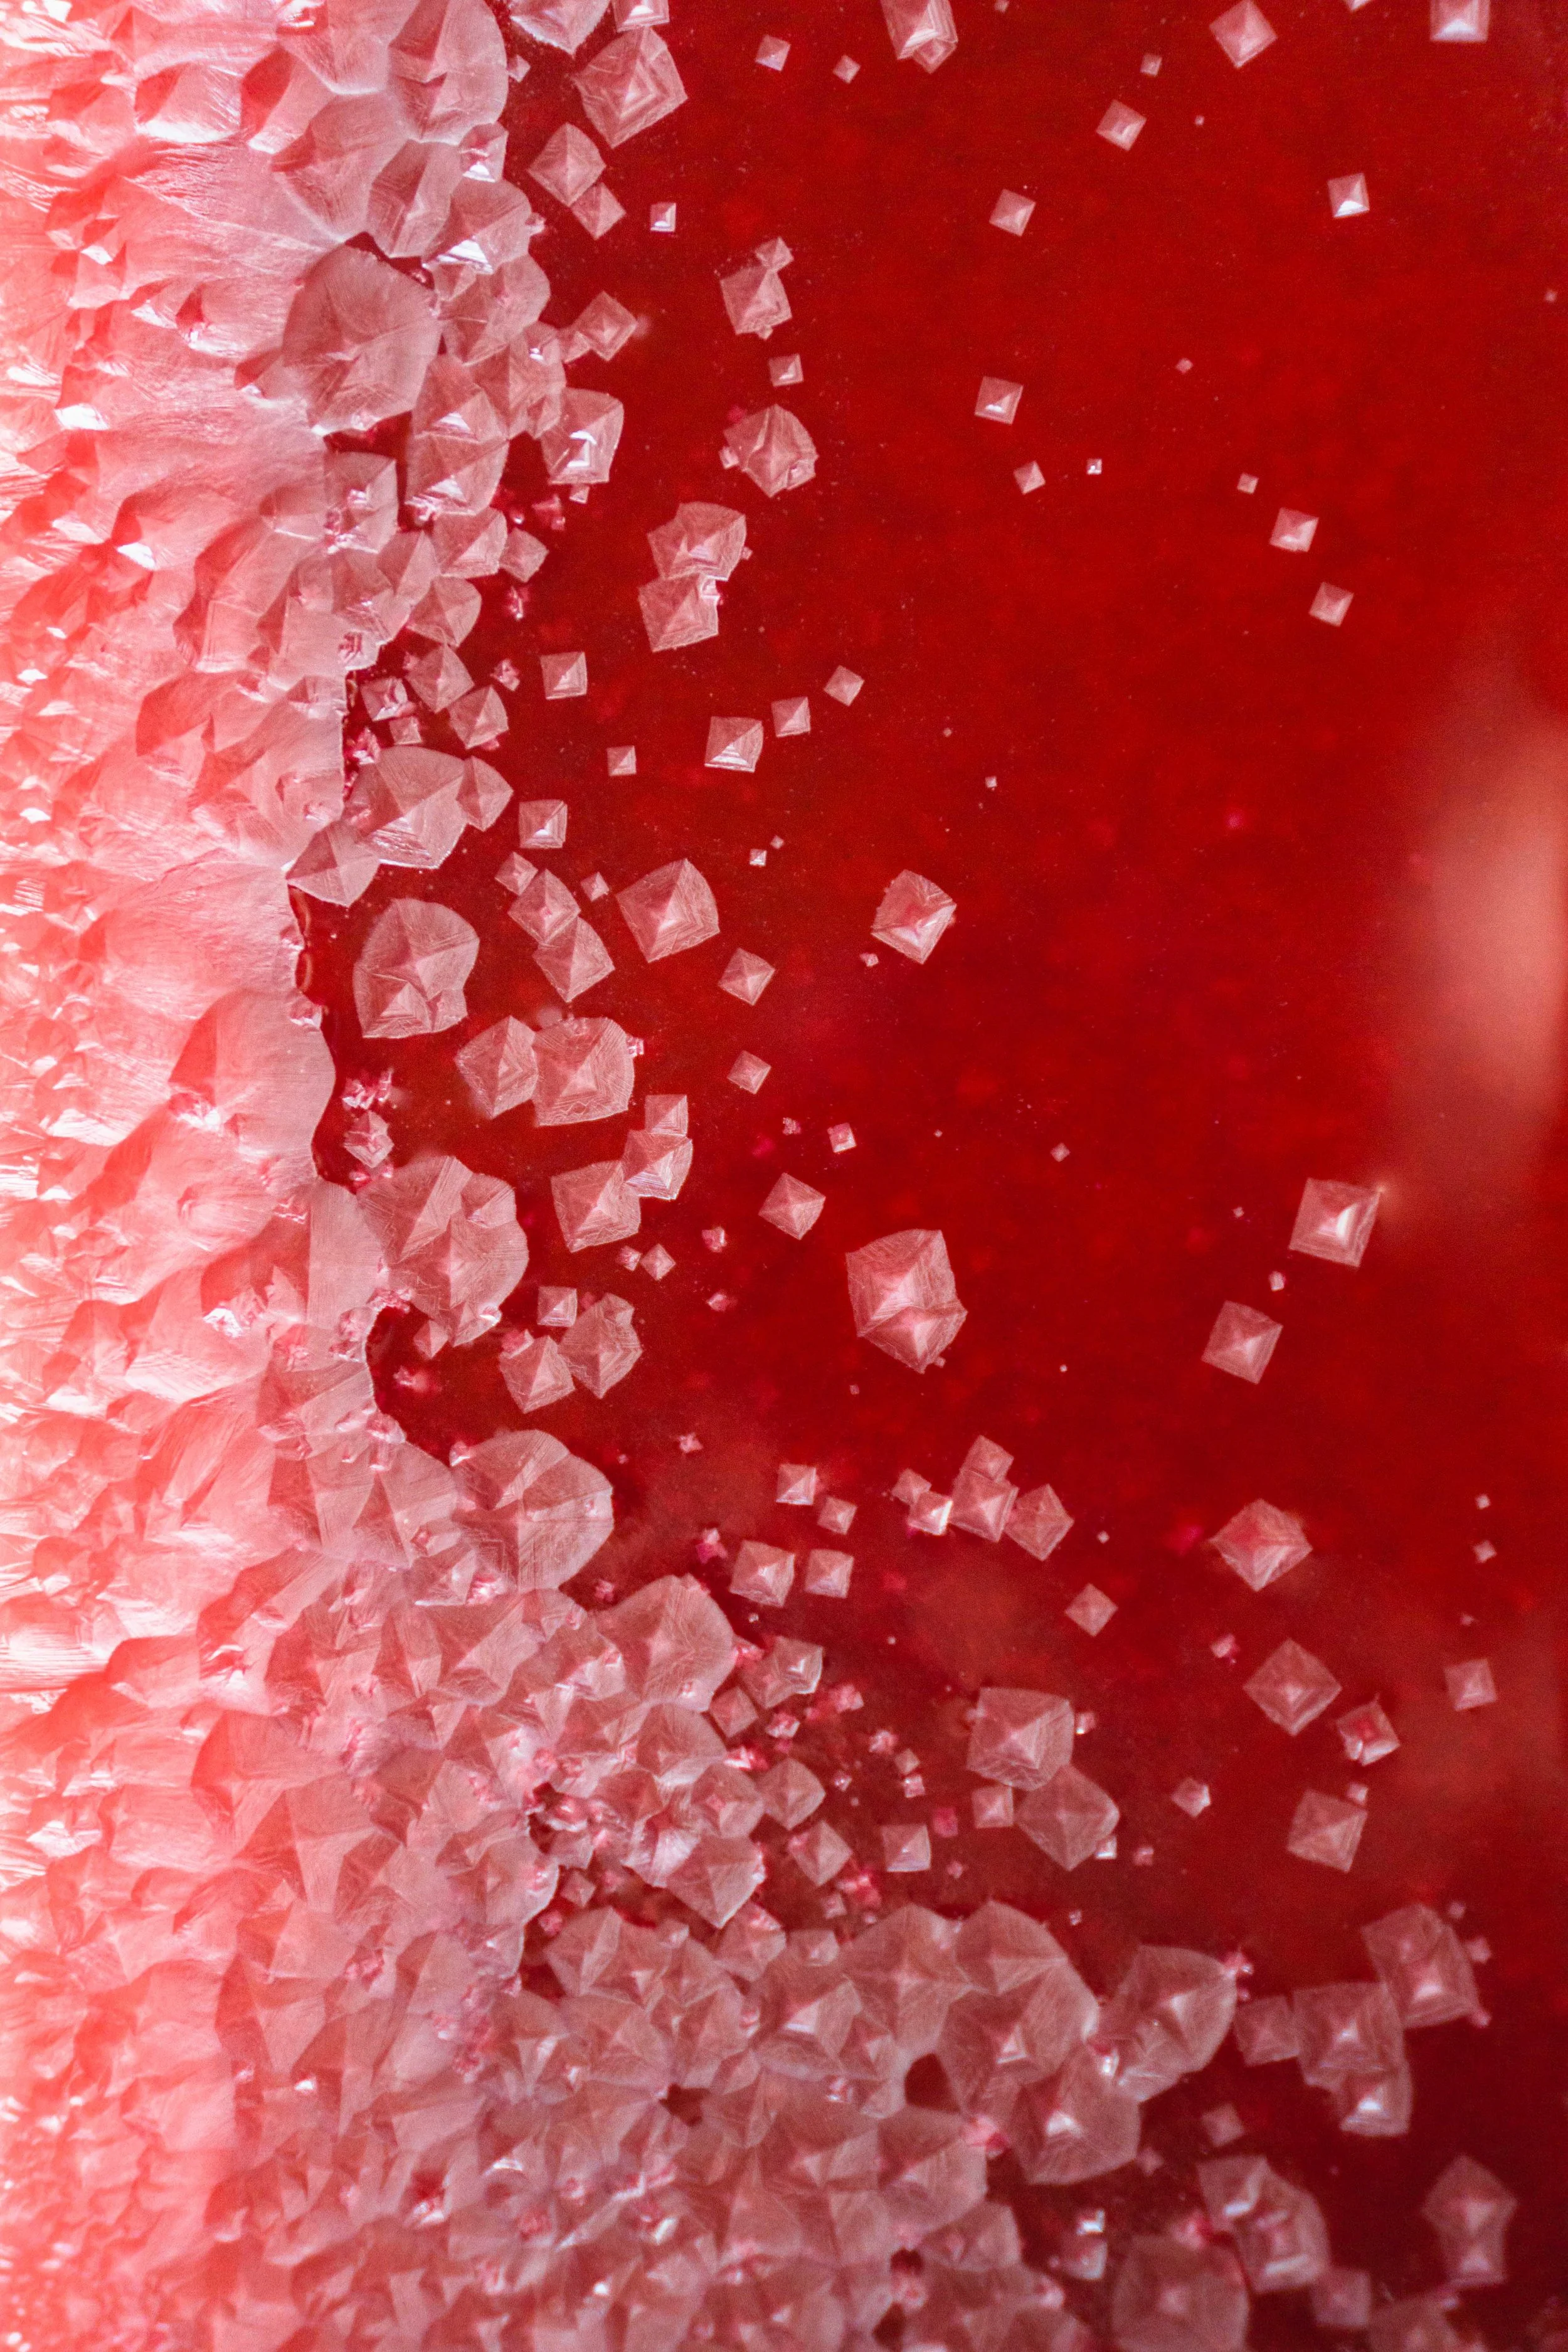
- By the 2-hour mark, you should see bits of salt crystals forming on the water near the sides of the tray. This will continue to propagate with time. Wait till the whole surface of the water is entirely covered with the salt crystals, then using a fork or a small sieve, gently lift out the salt crystals, and place into a separate fine-mesh sieve. Transfer these salt crystals into a separate bowl or tray and put in the oven to thoroughly dry it out.
- Repeat step 4 in 2-to-3-hour intervals twice more, until barely any liquid is left in the tray.
- At this point, you might have some rough clumps of salt that have sunk to the bottom of the tray. If you want to get the most yield out of this recipe, you can dissolve this salt in more water and beetroot juice, and repeat steps 3-5 to get another batch of salt (though this batch will probably not crystallise as nicely as the first batch).
- Salt bae away!